Sat Sep 23 2023
Lassen Volcanic National Park, California
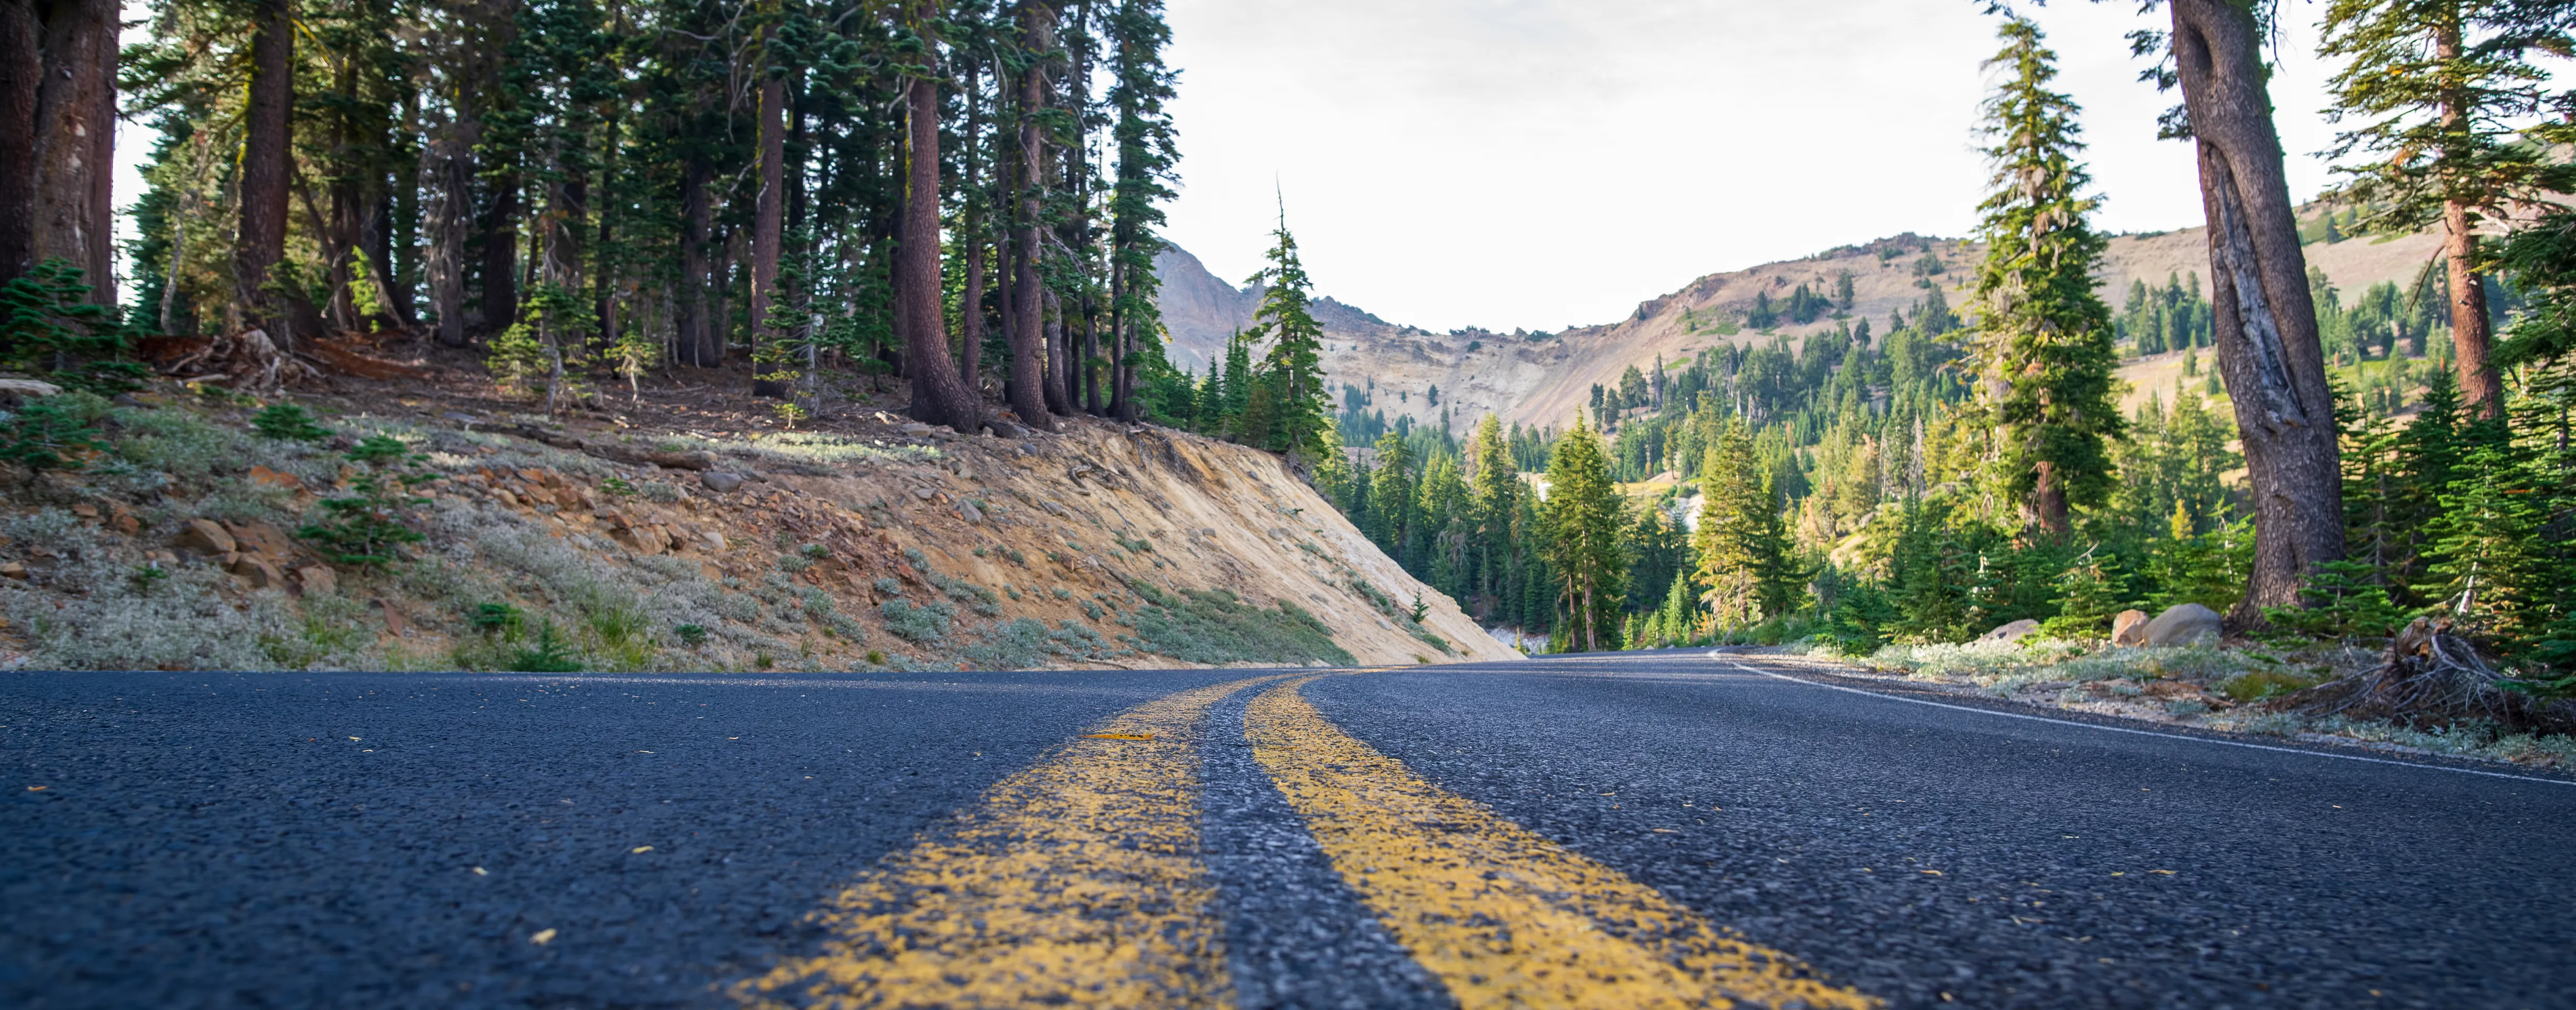
Lassen is one of Northern California's hidden gems, providing hikers with a variety of different scenery ranging from dry lava rock covered terrain to green grass and fresh mountain water.
Metadata
Trip Duration: 2 days, 1 night
Distance: ~18 miles
Elevation: Start at 6600 ft (Summit Lake), highest at 6850 ft (peak of Cinder Cone), lowest point at 6000 ft (around Butte Lake and Snag Lake)
Trail Type: Loop
Interesting sights: Lassen Volcano, Sulphur Works, Painted Dunes, Cinder Cone, all the lakes!
Reservation: Permits are required for backcountry camping although probably uncommon to be checked
Cost: This is a national park so national park entrance fees apply
TLDR;
Lassen Volcanic National Park offers views of volcanoes (I would hope), craters, blue lakes, forest, and hydrothermal pools.
Summit Lake
One way to start the trip is at the Summit Lake Campground (North or South). If you’re coming from the Southwest entrance, keep taking the CA-89, passing Sulphur Works. The campground is about 15 miles up or a 30 min drive.
Other Options
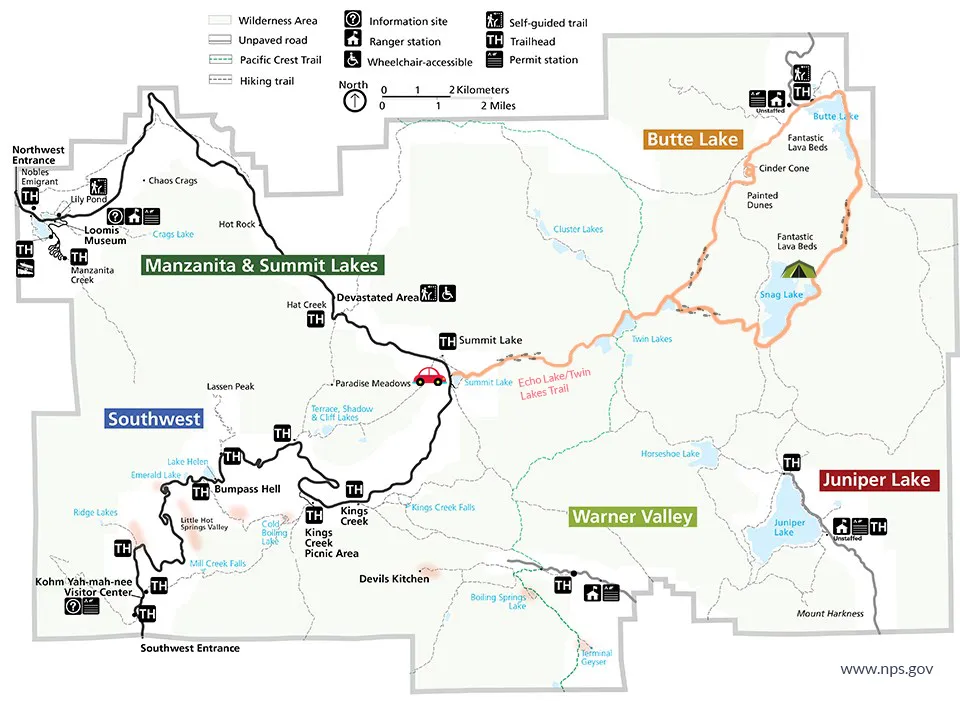
The map above is what we ended up doing. We were a little over ambitious with planning so we made some adjustments as we realized we were behind on the first day. But, there are several other trails and lakes to explore as the park is massive, so choose your own adventure!
Tips
- Don’t forget to book a campsite for the night prior so you can start the trip bright and early! The sites within the park are quite popular and are quickly booked.
- You can leave your backpack at the bottom of the crater and fetch it on the way back. This hike is very steep and often windy. However, this only works if you plan on going down the same way as you went up as there is an option to take another route down and continue onwards.
- Bring a water filter to fill up at the many generous lakes.
- The hike up cinder cone was exhausting and took way longer than expected. I would suggest making the trip 2 nights so to avoid rushing the second half.
Packing
- This area is known for black bears. It is highly recommended to bring a bear canister to store all smelly items (in fact likely still required). Be prepared! You can rent one from REI or the visitors center.
- The bear canister is actually quite heavy. For 3 people, 9L was enough to store food and toiletries. This means that one person gets to carry the most important items.
- Layers will be useful as the nights are chilly but the sun comes out and warms you up during the day, especially near the volcanic areas.
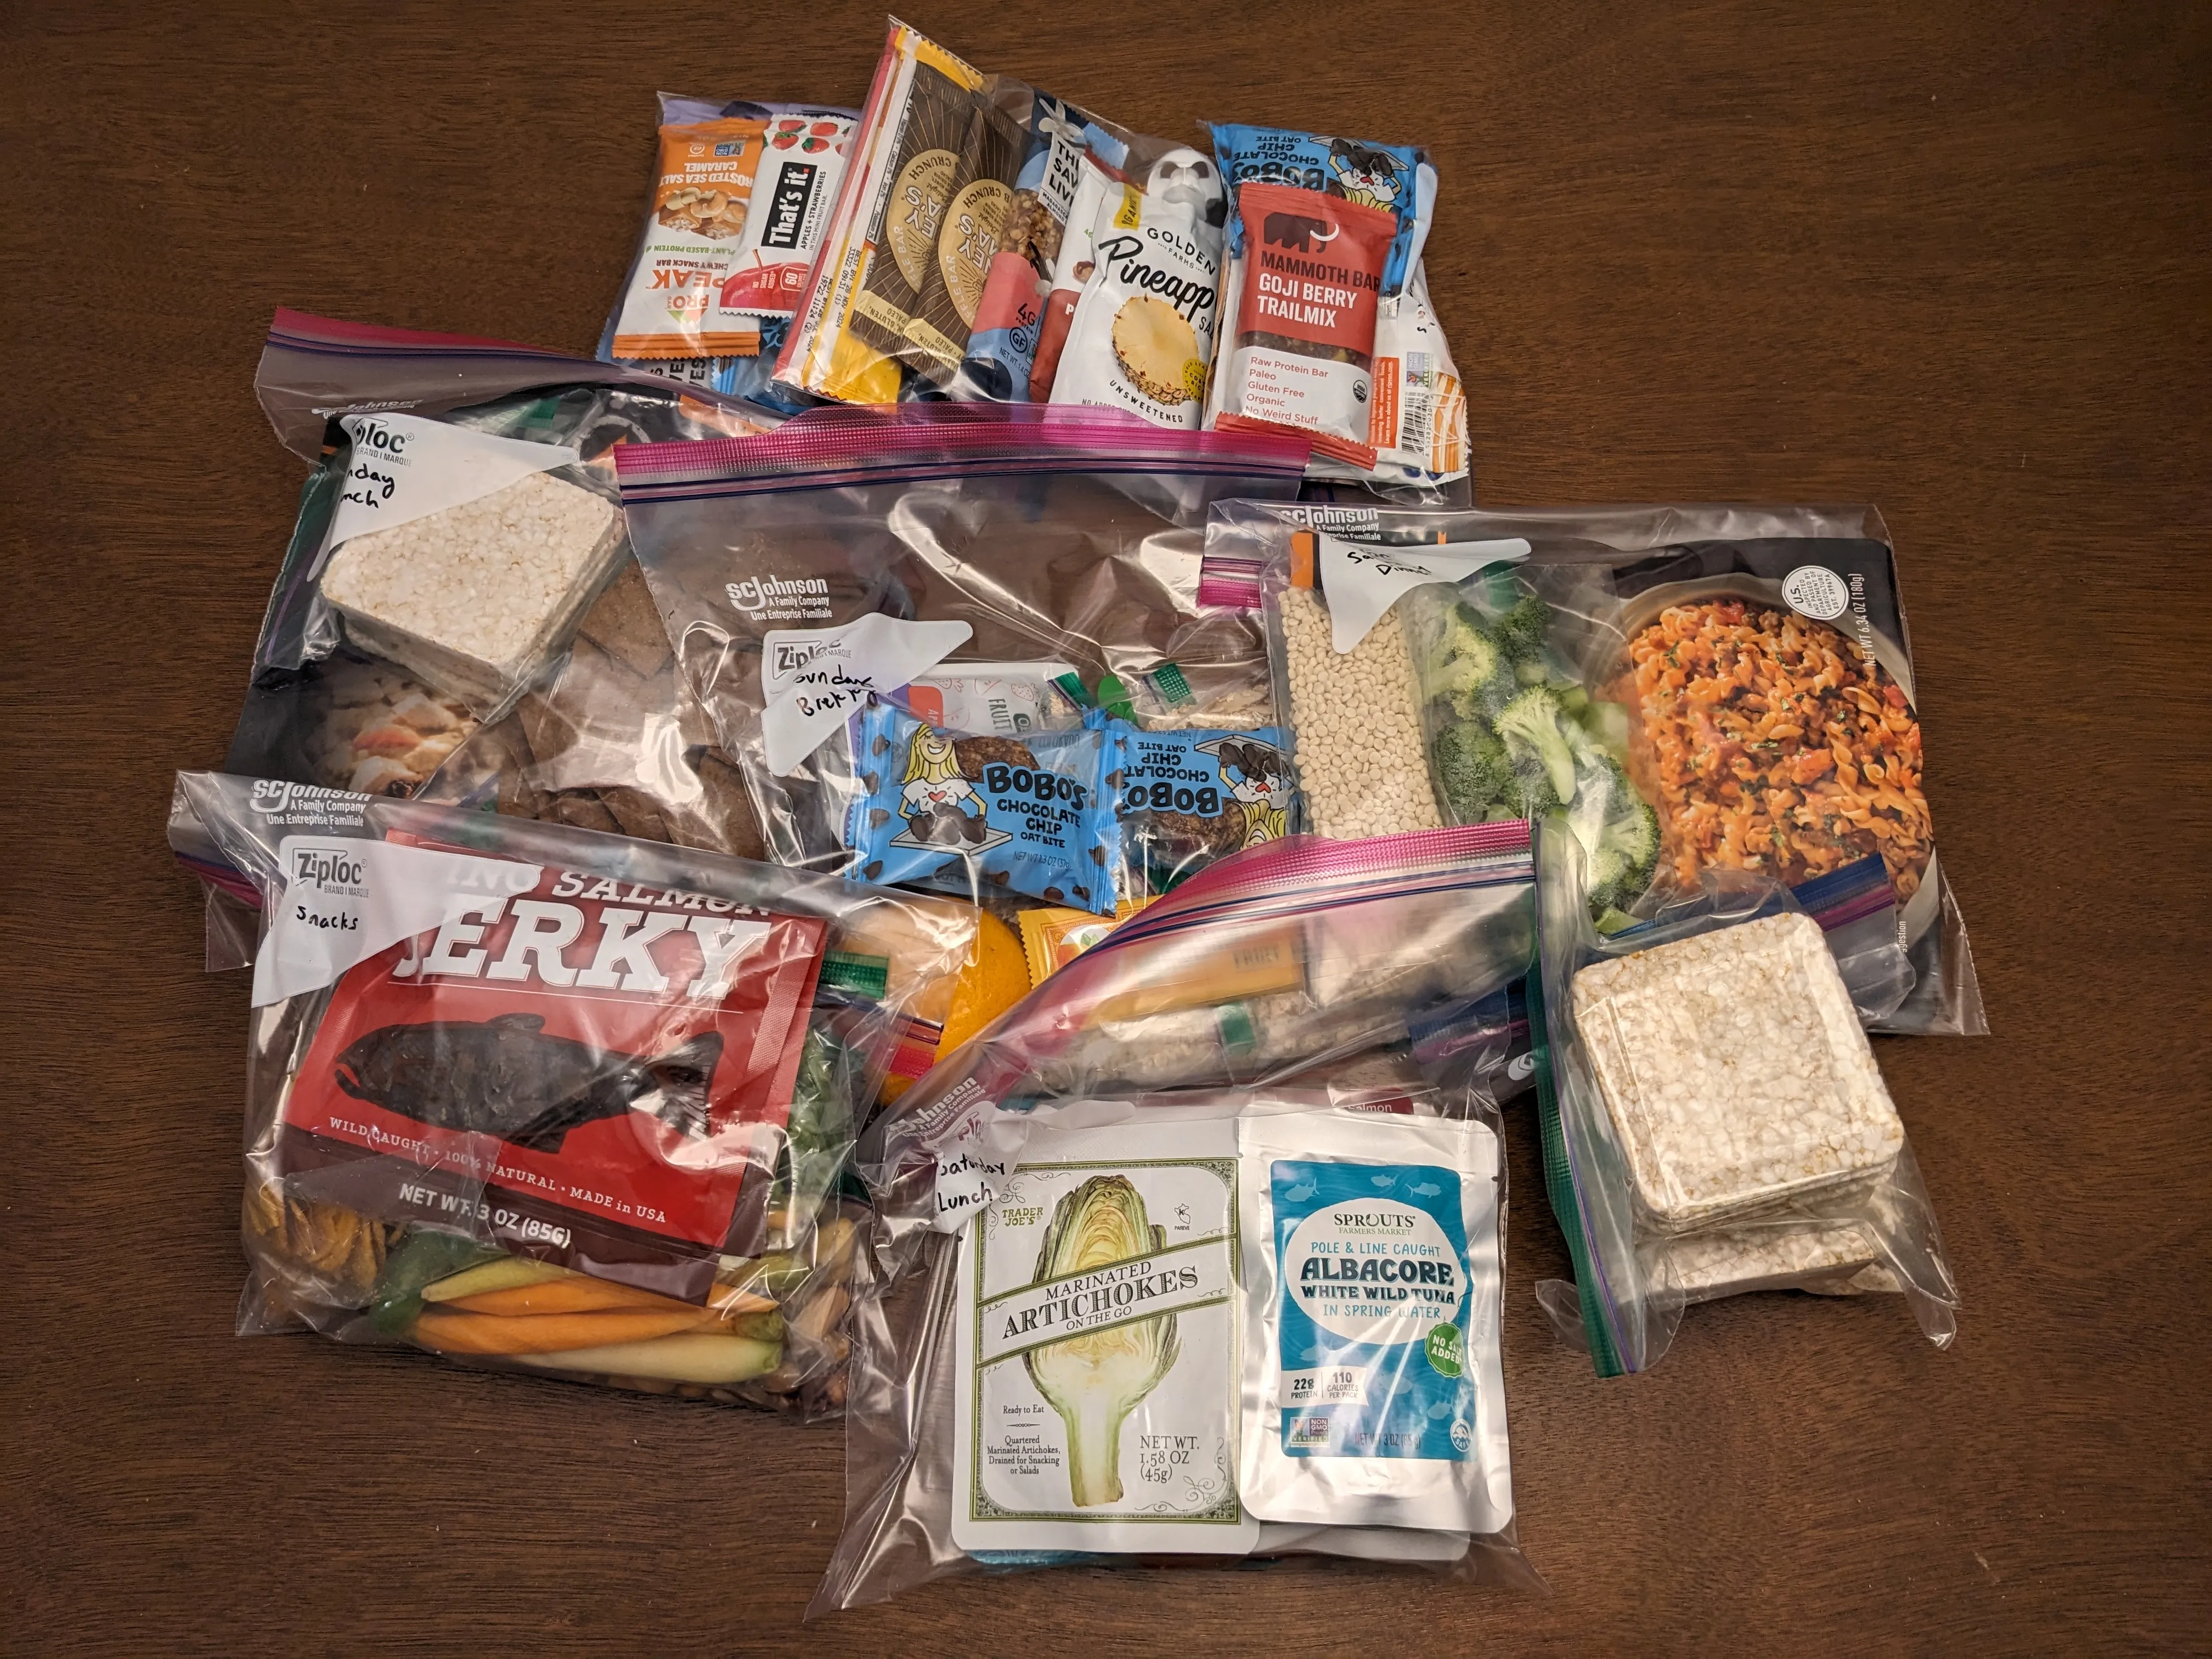
- I find separating each meal/snack to into their own Ziplock bags is useful in keeping organized and saving space.
Highlights
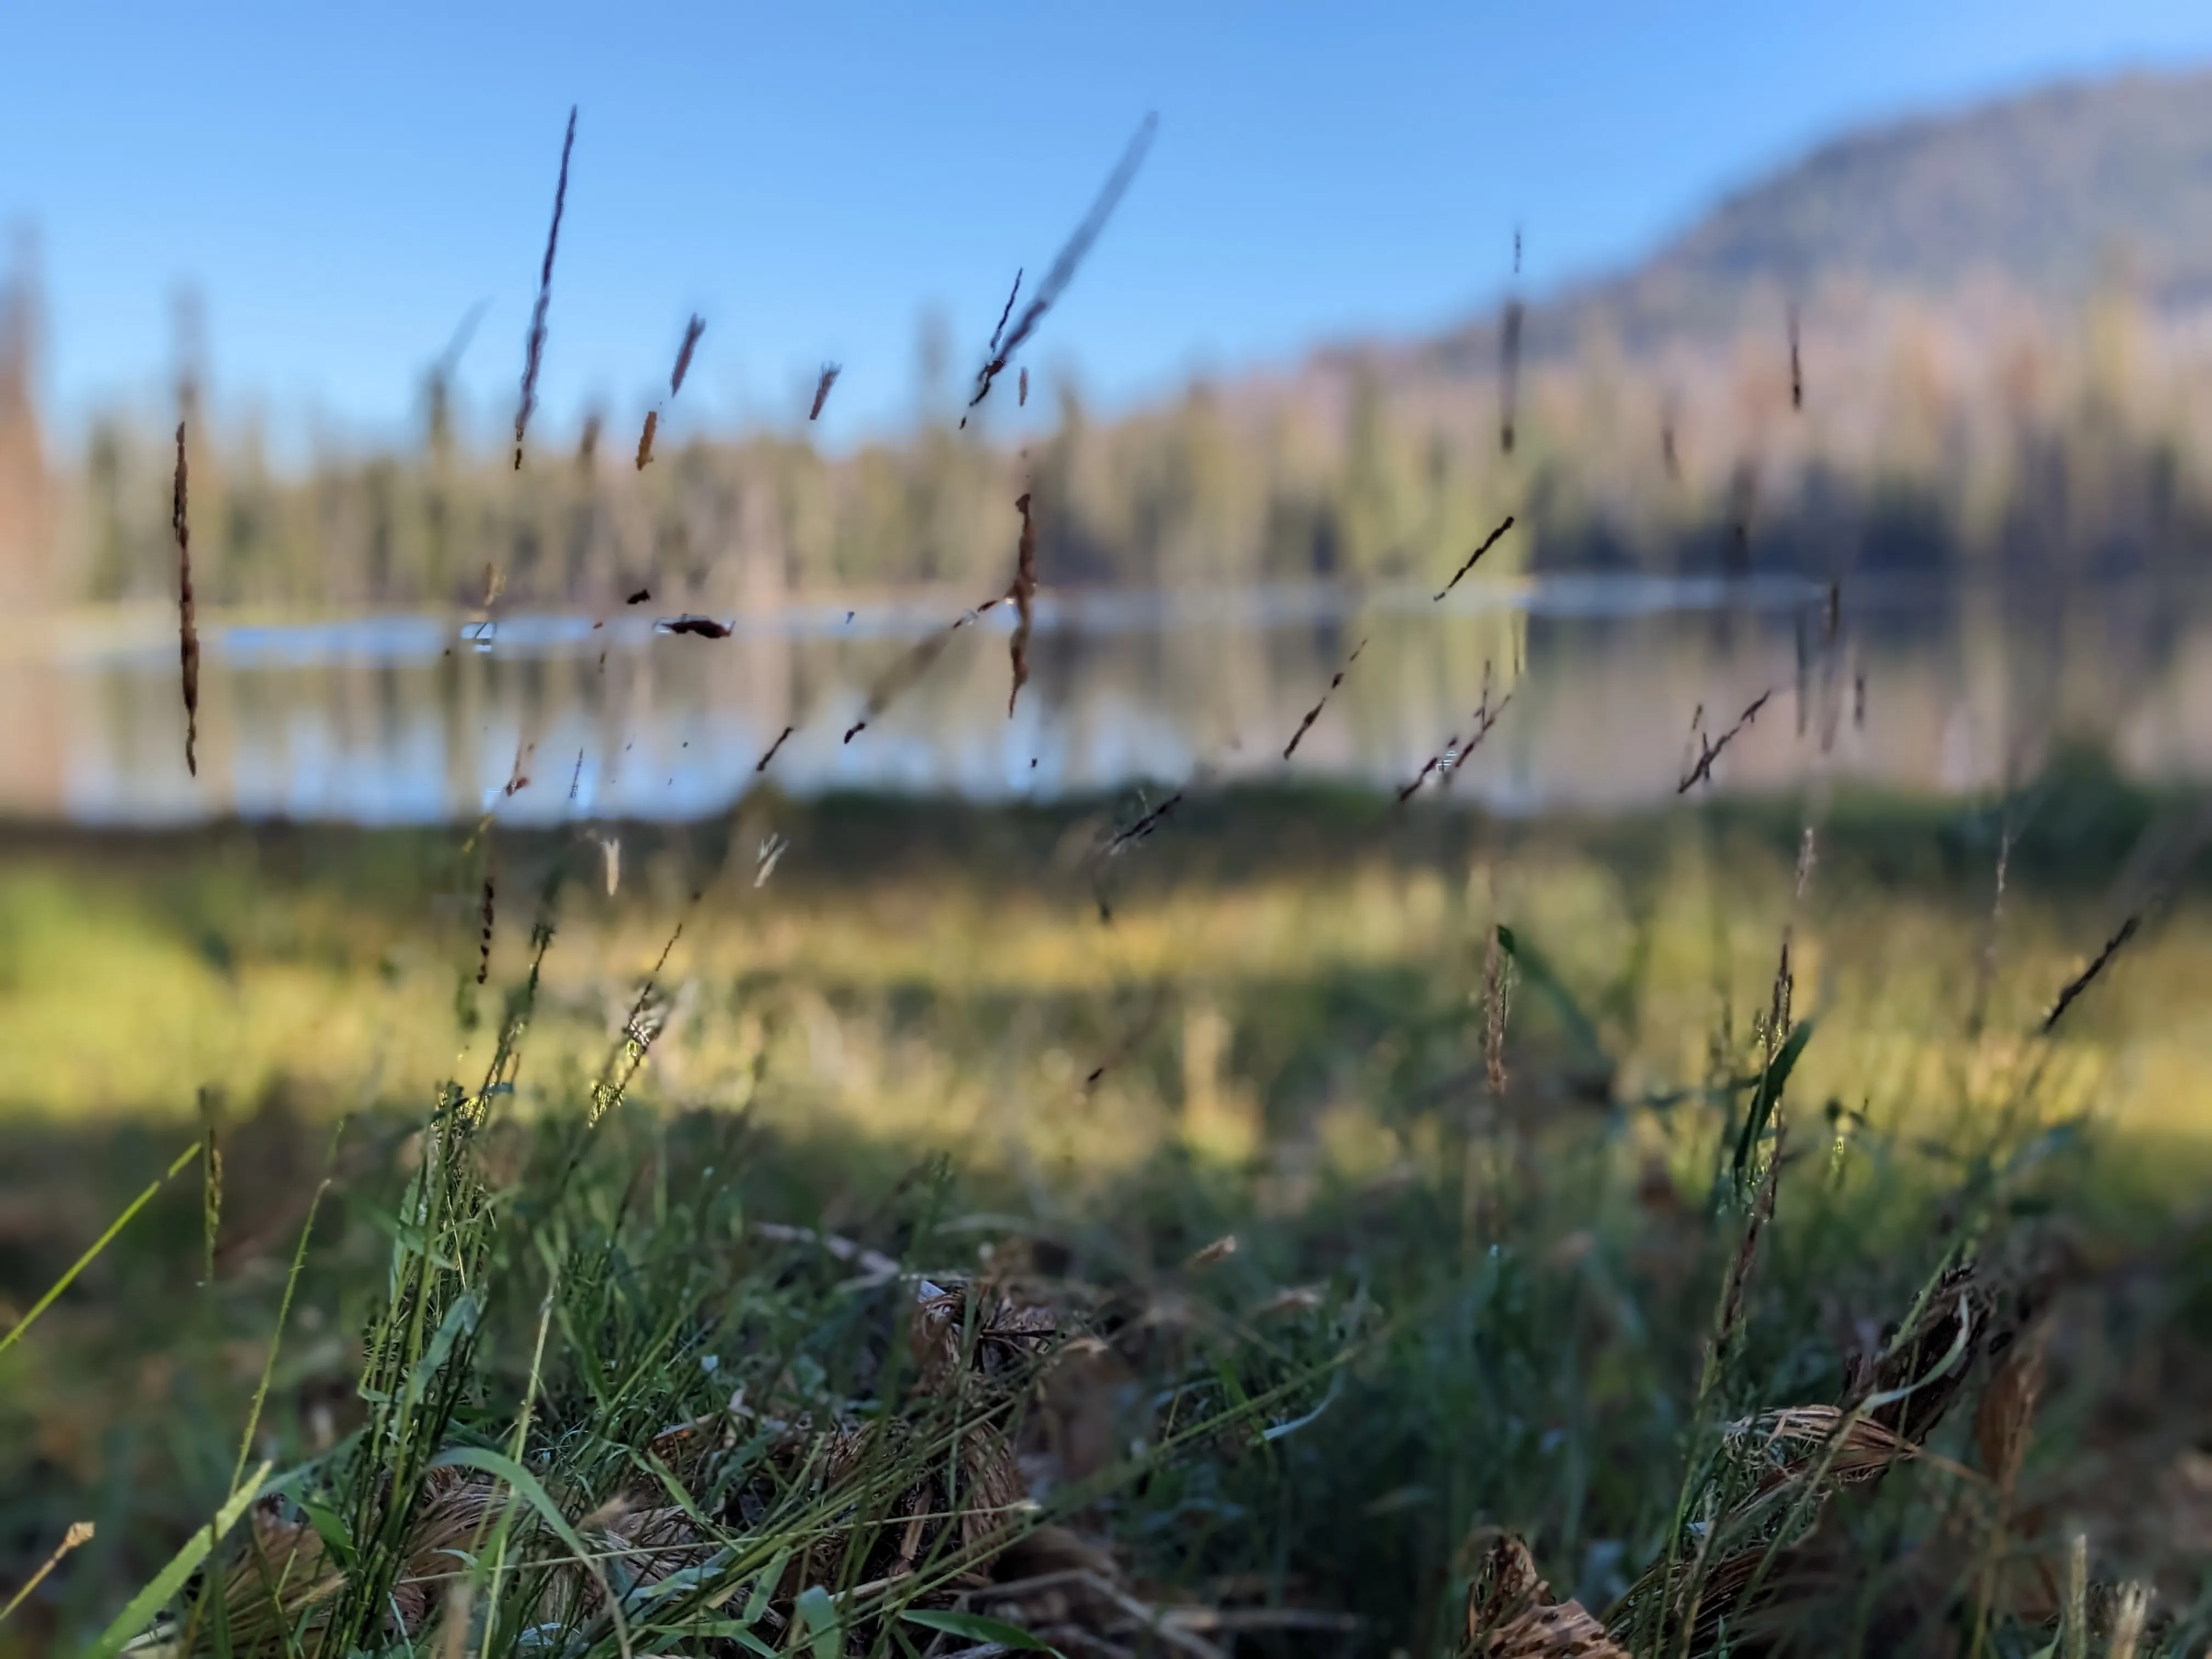
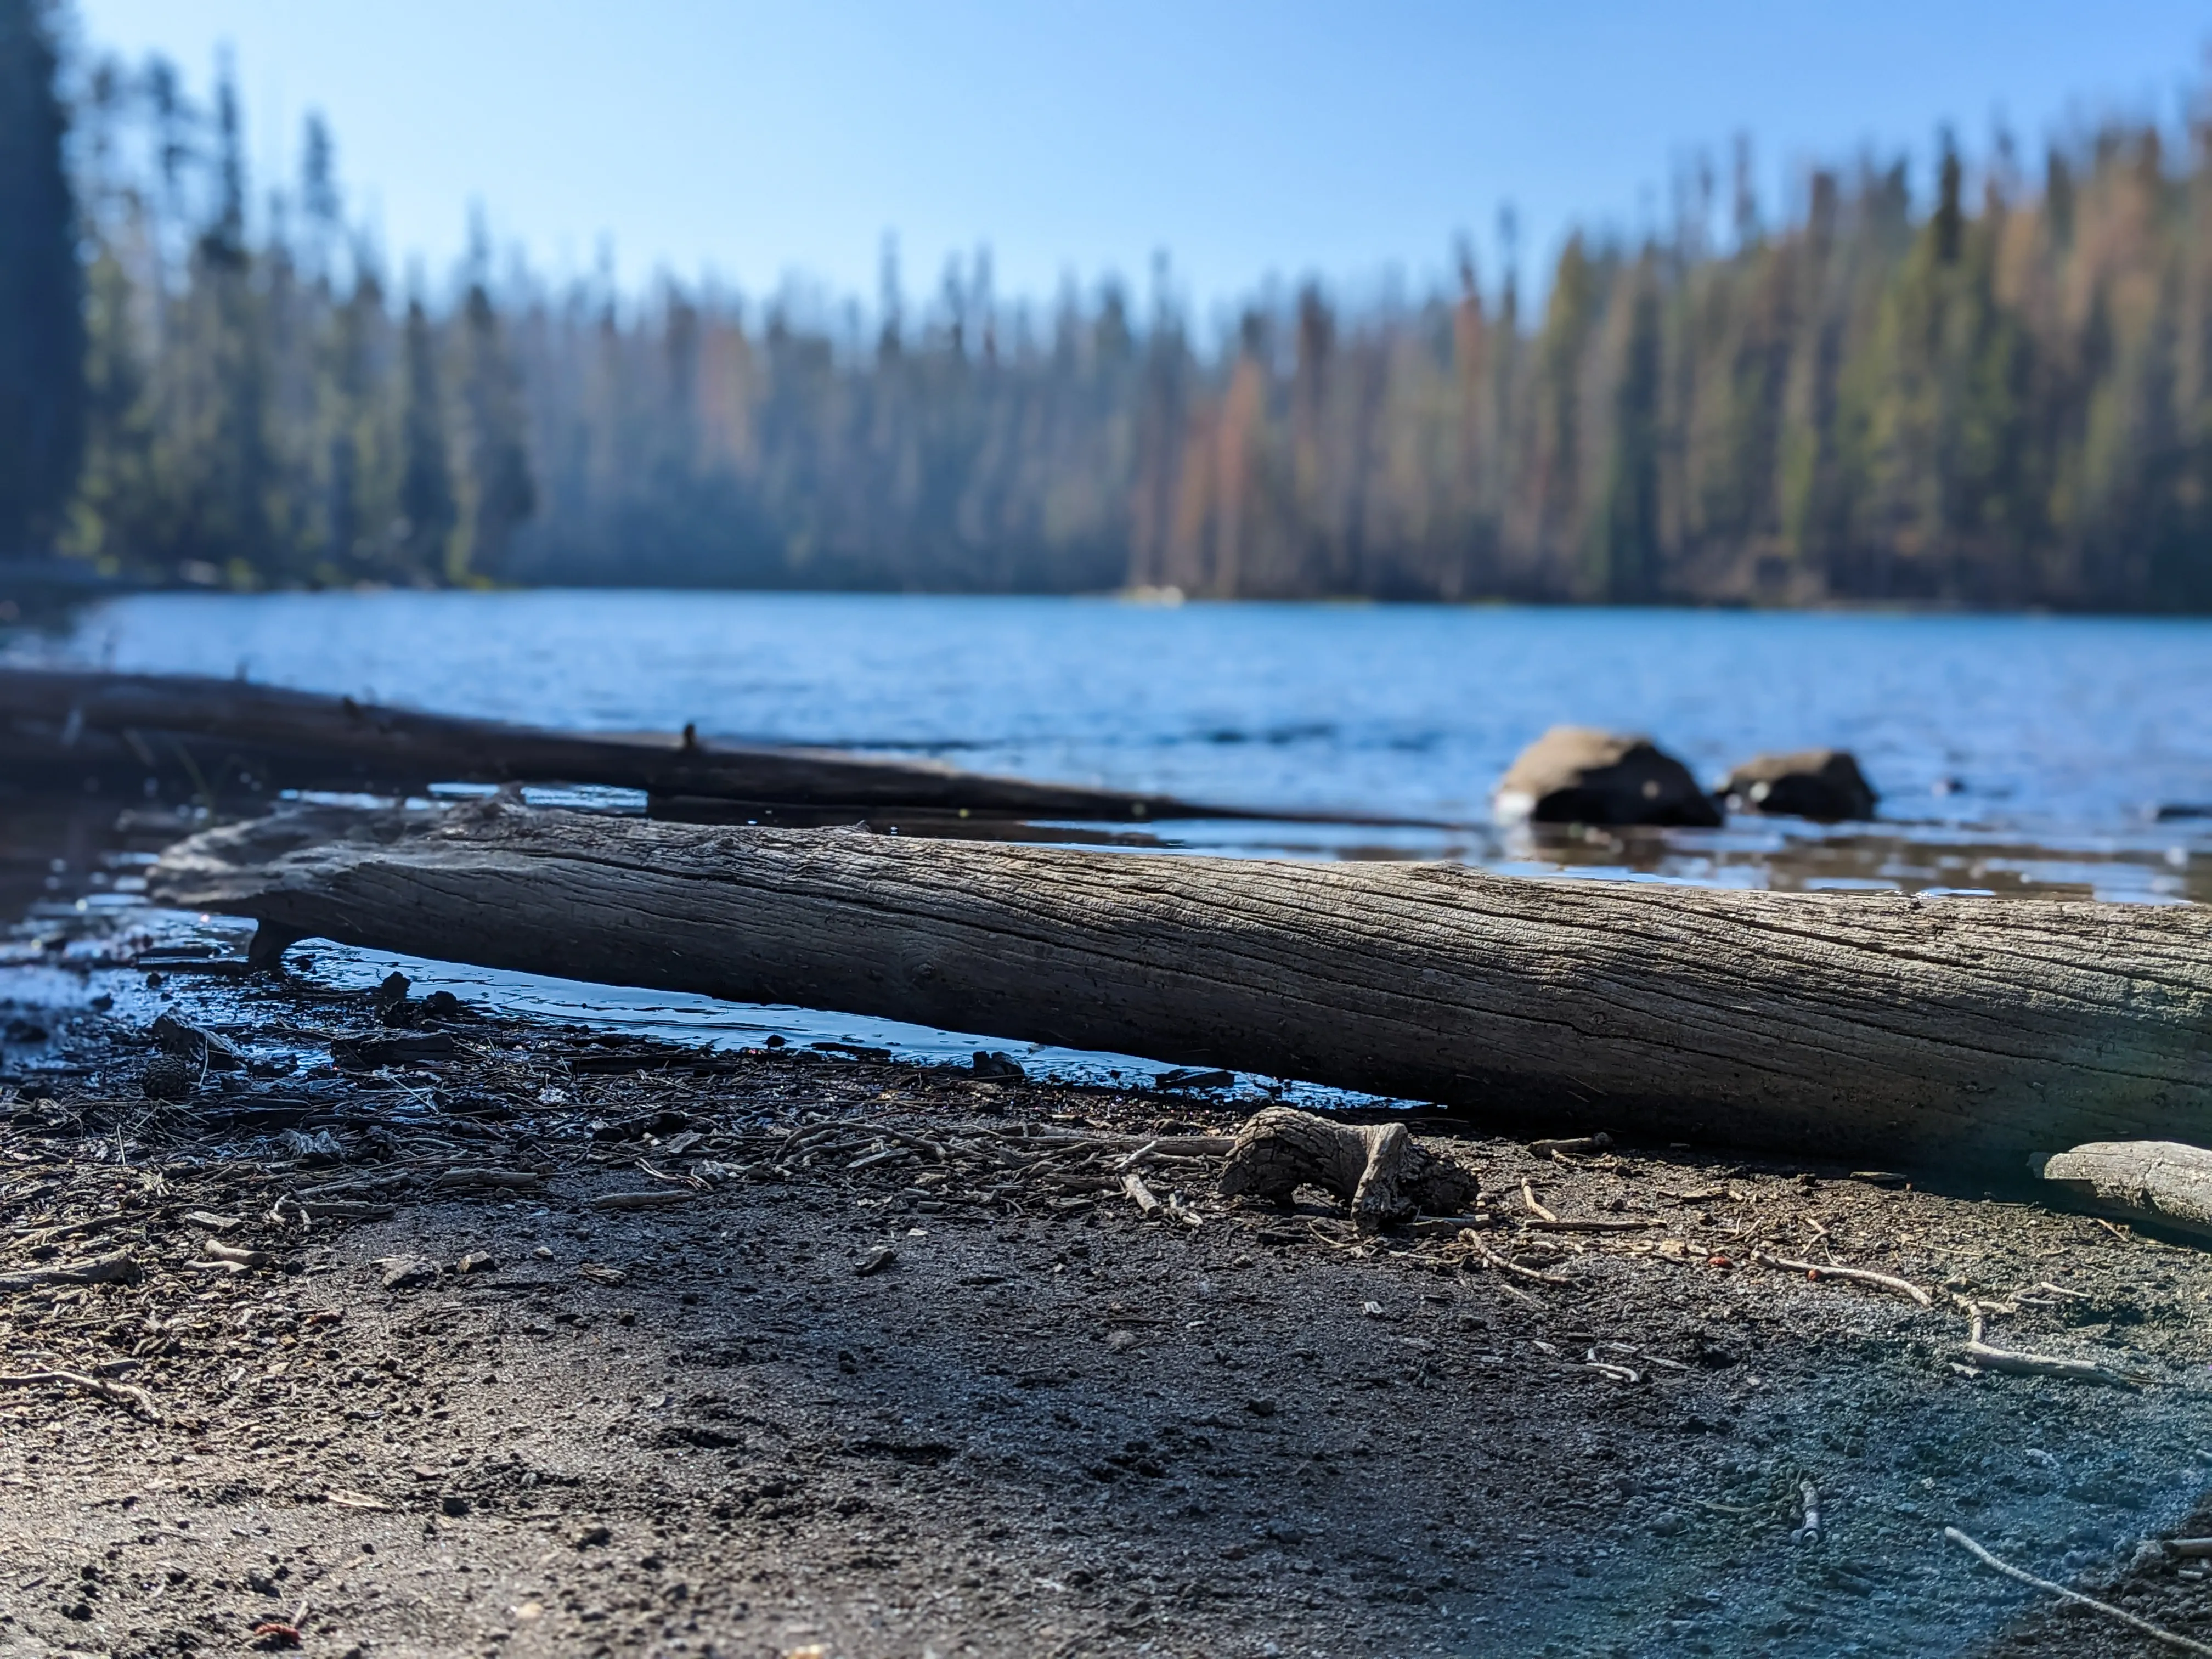
Summit Lake
A calm lake by the campground ~
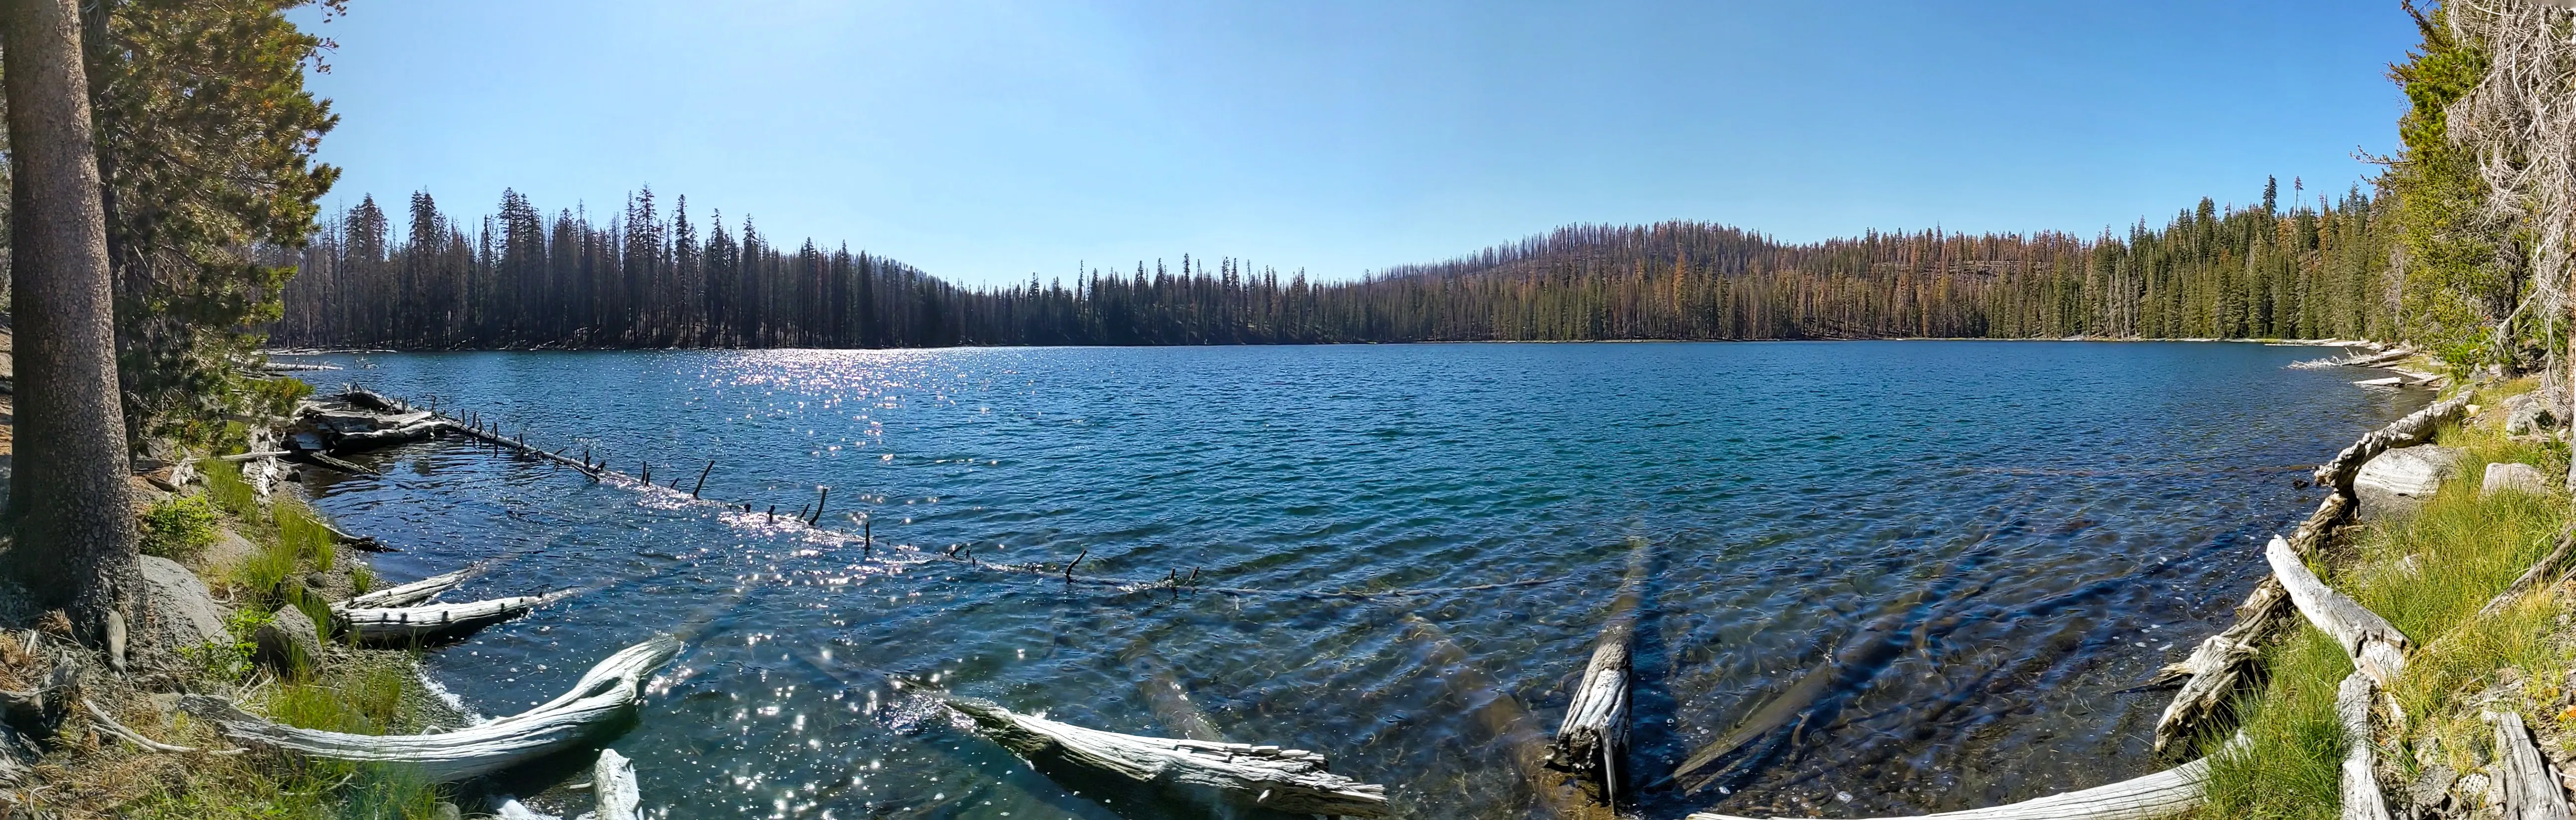
Twin Lakes
These lakes were super blue and provided fresh tasting water.
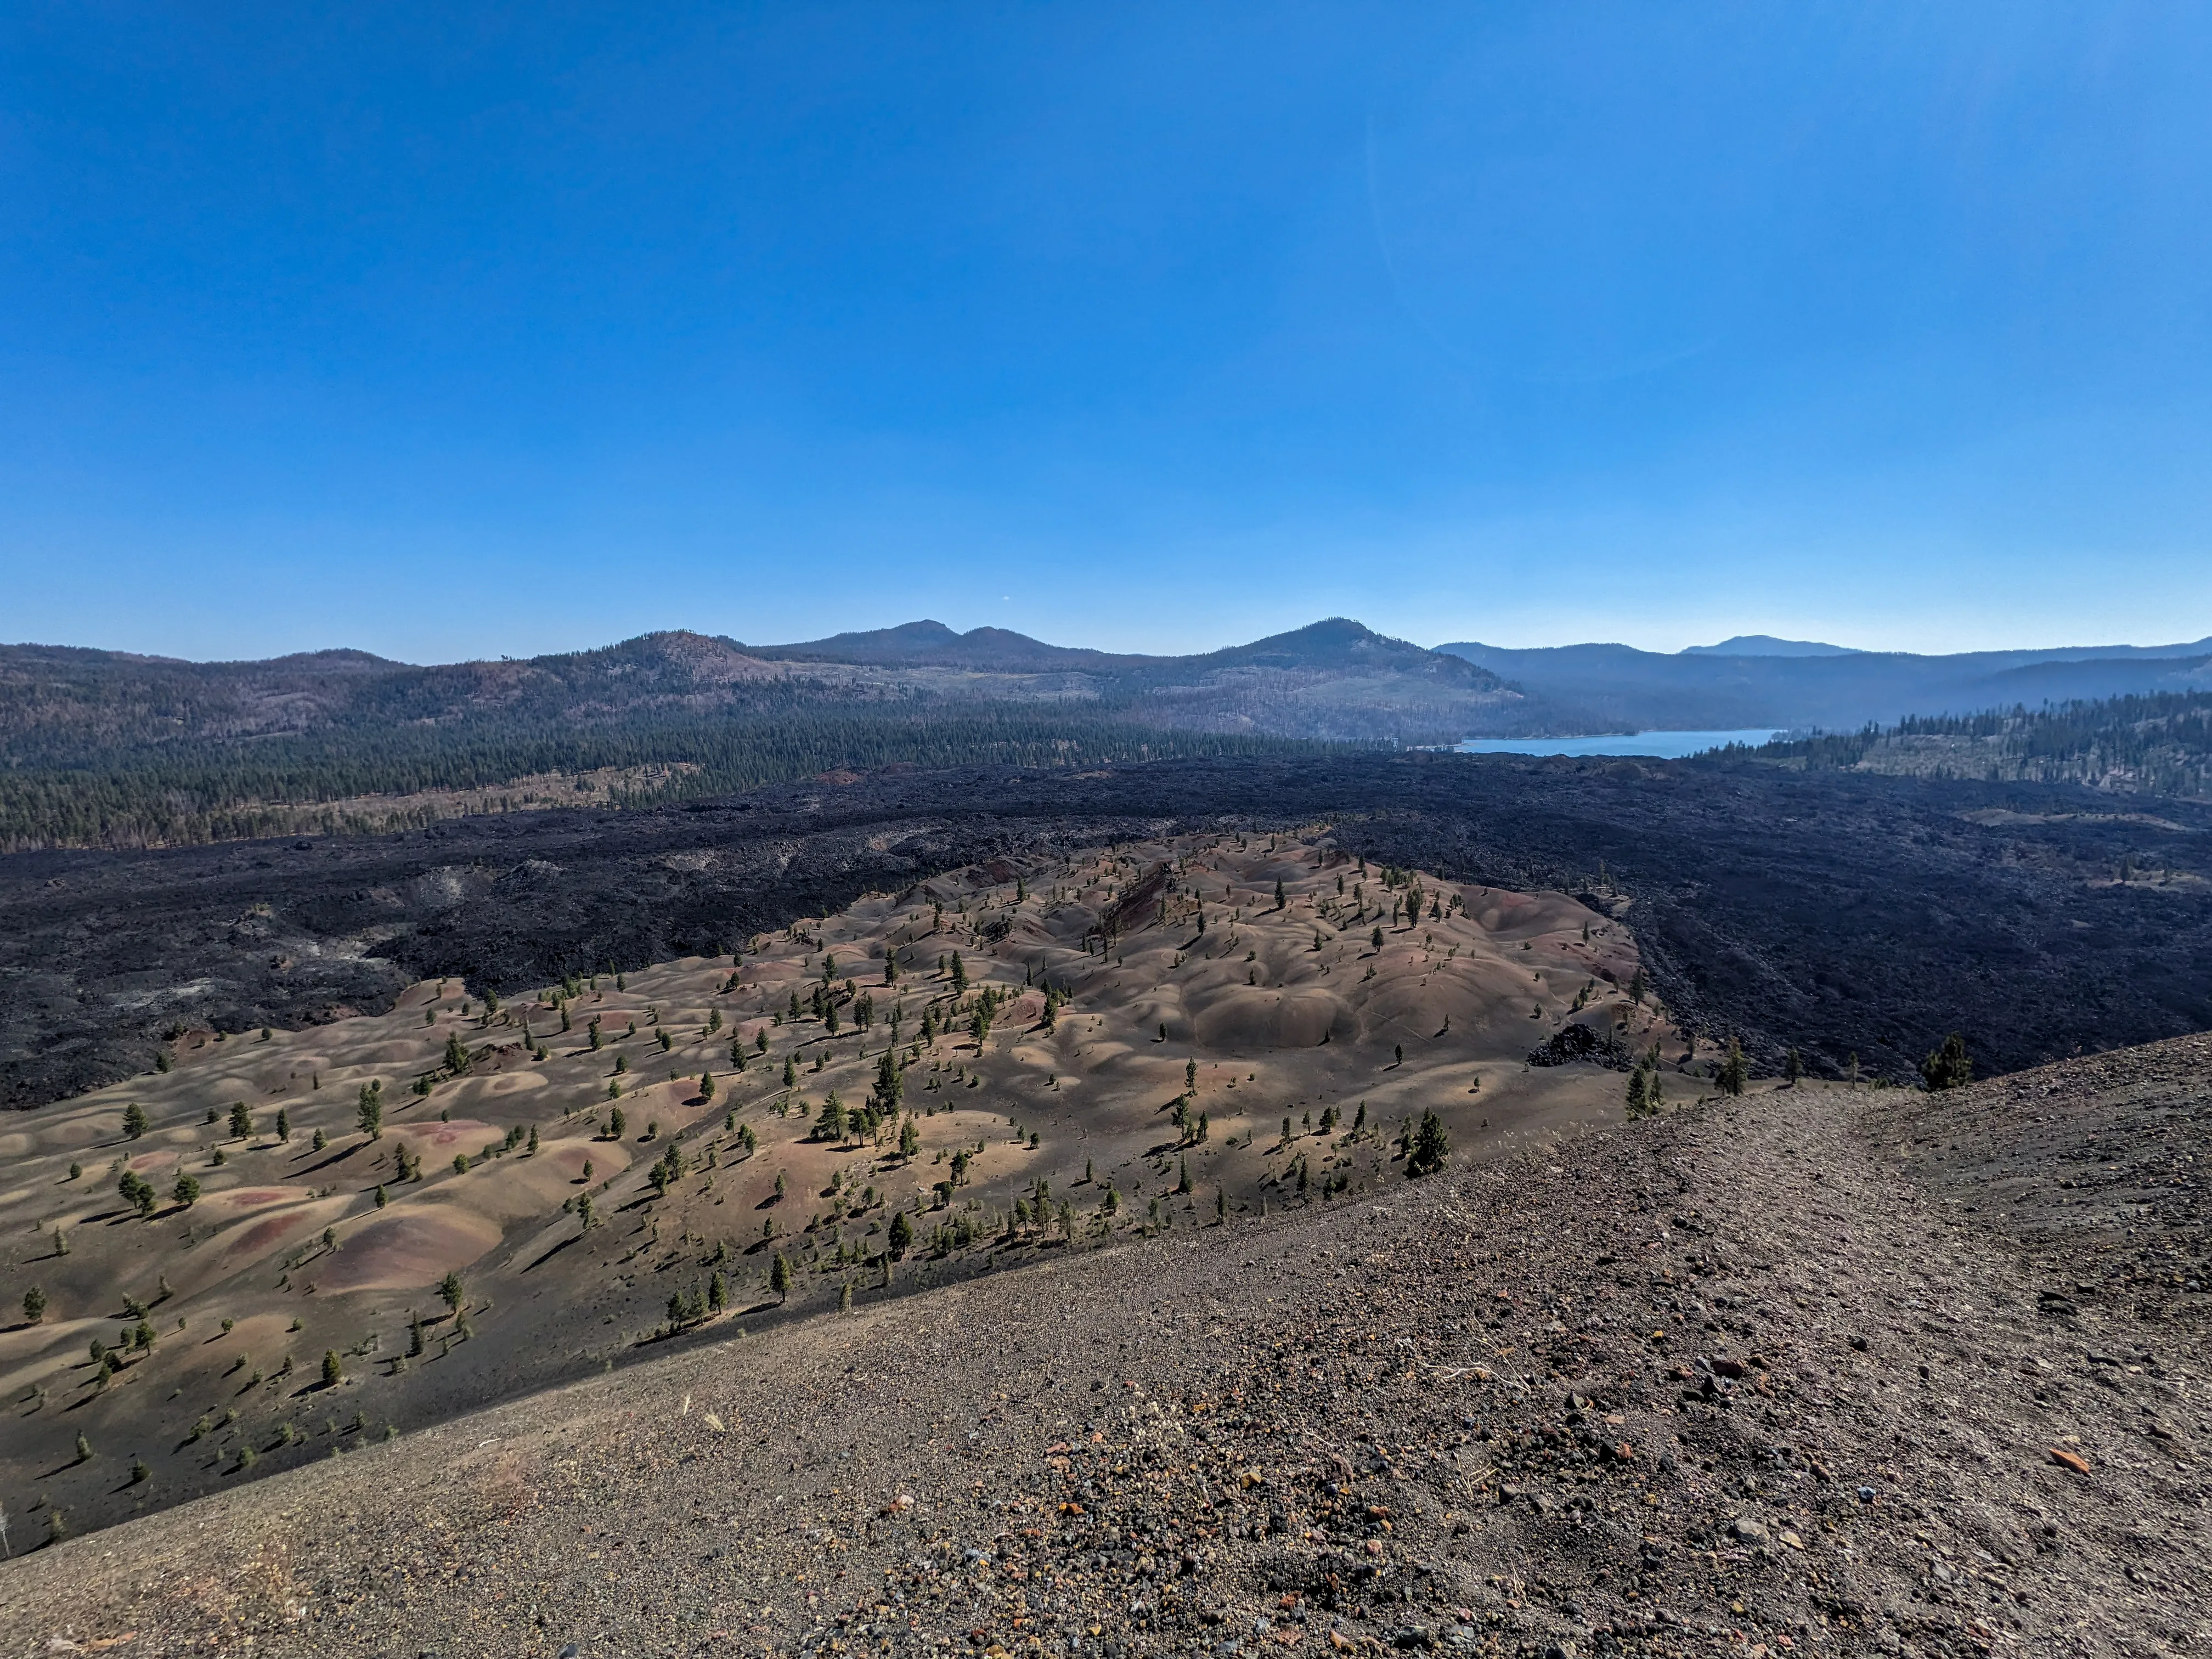
Painted Dunes
View of the colorful hills in the distance when hiking up Cinder Cone.
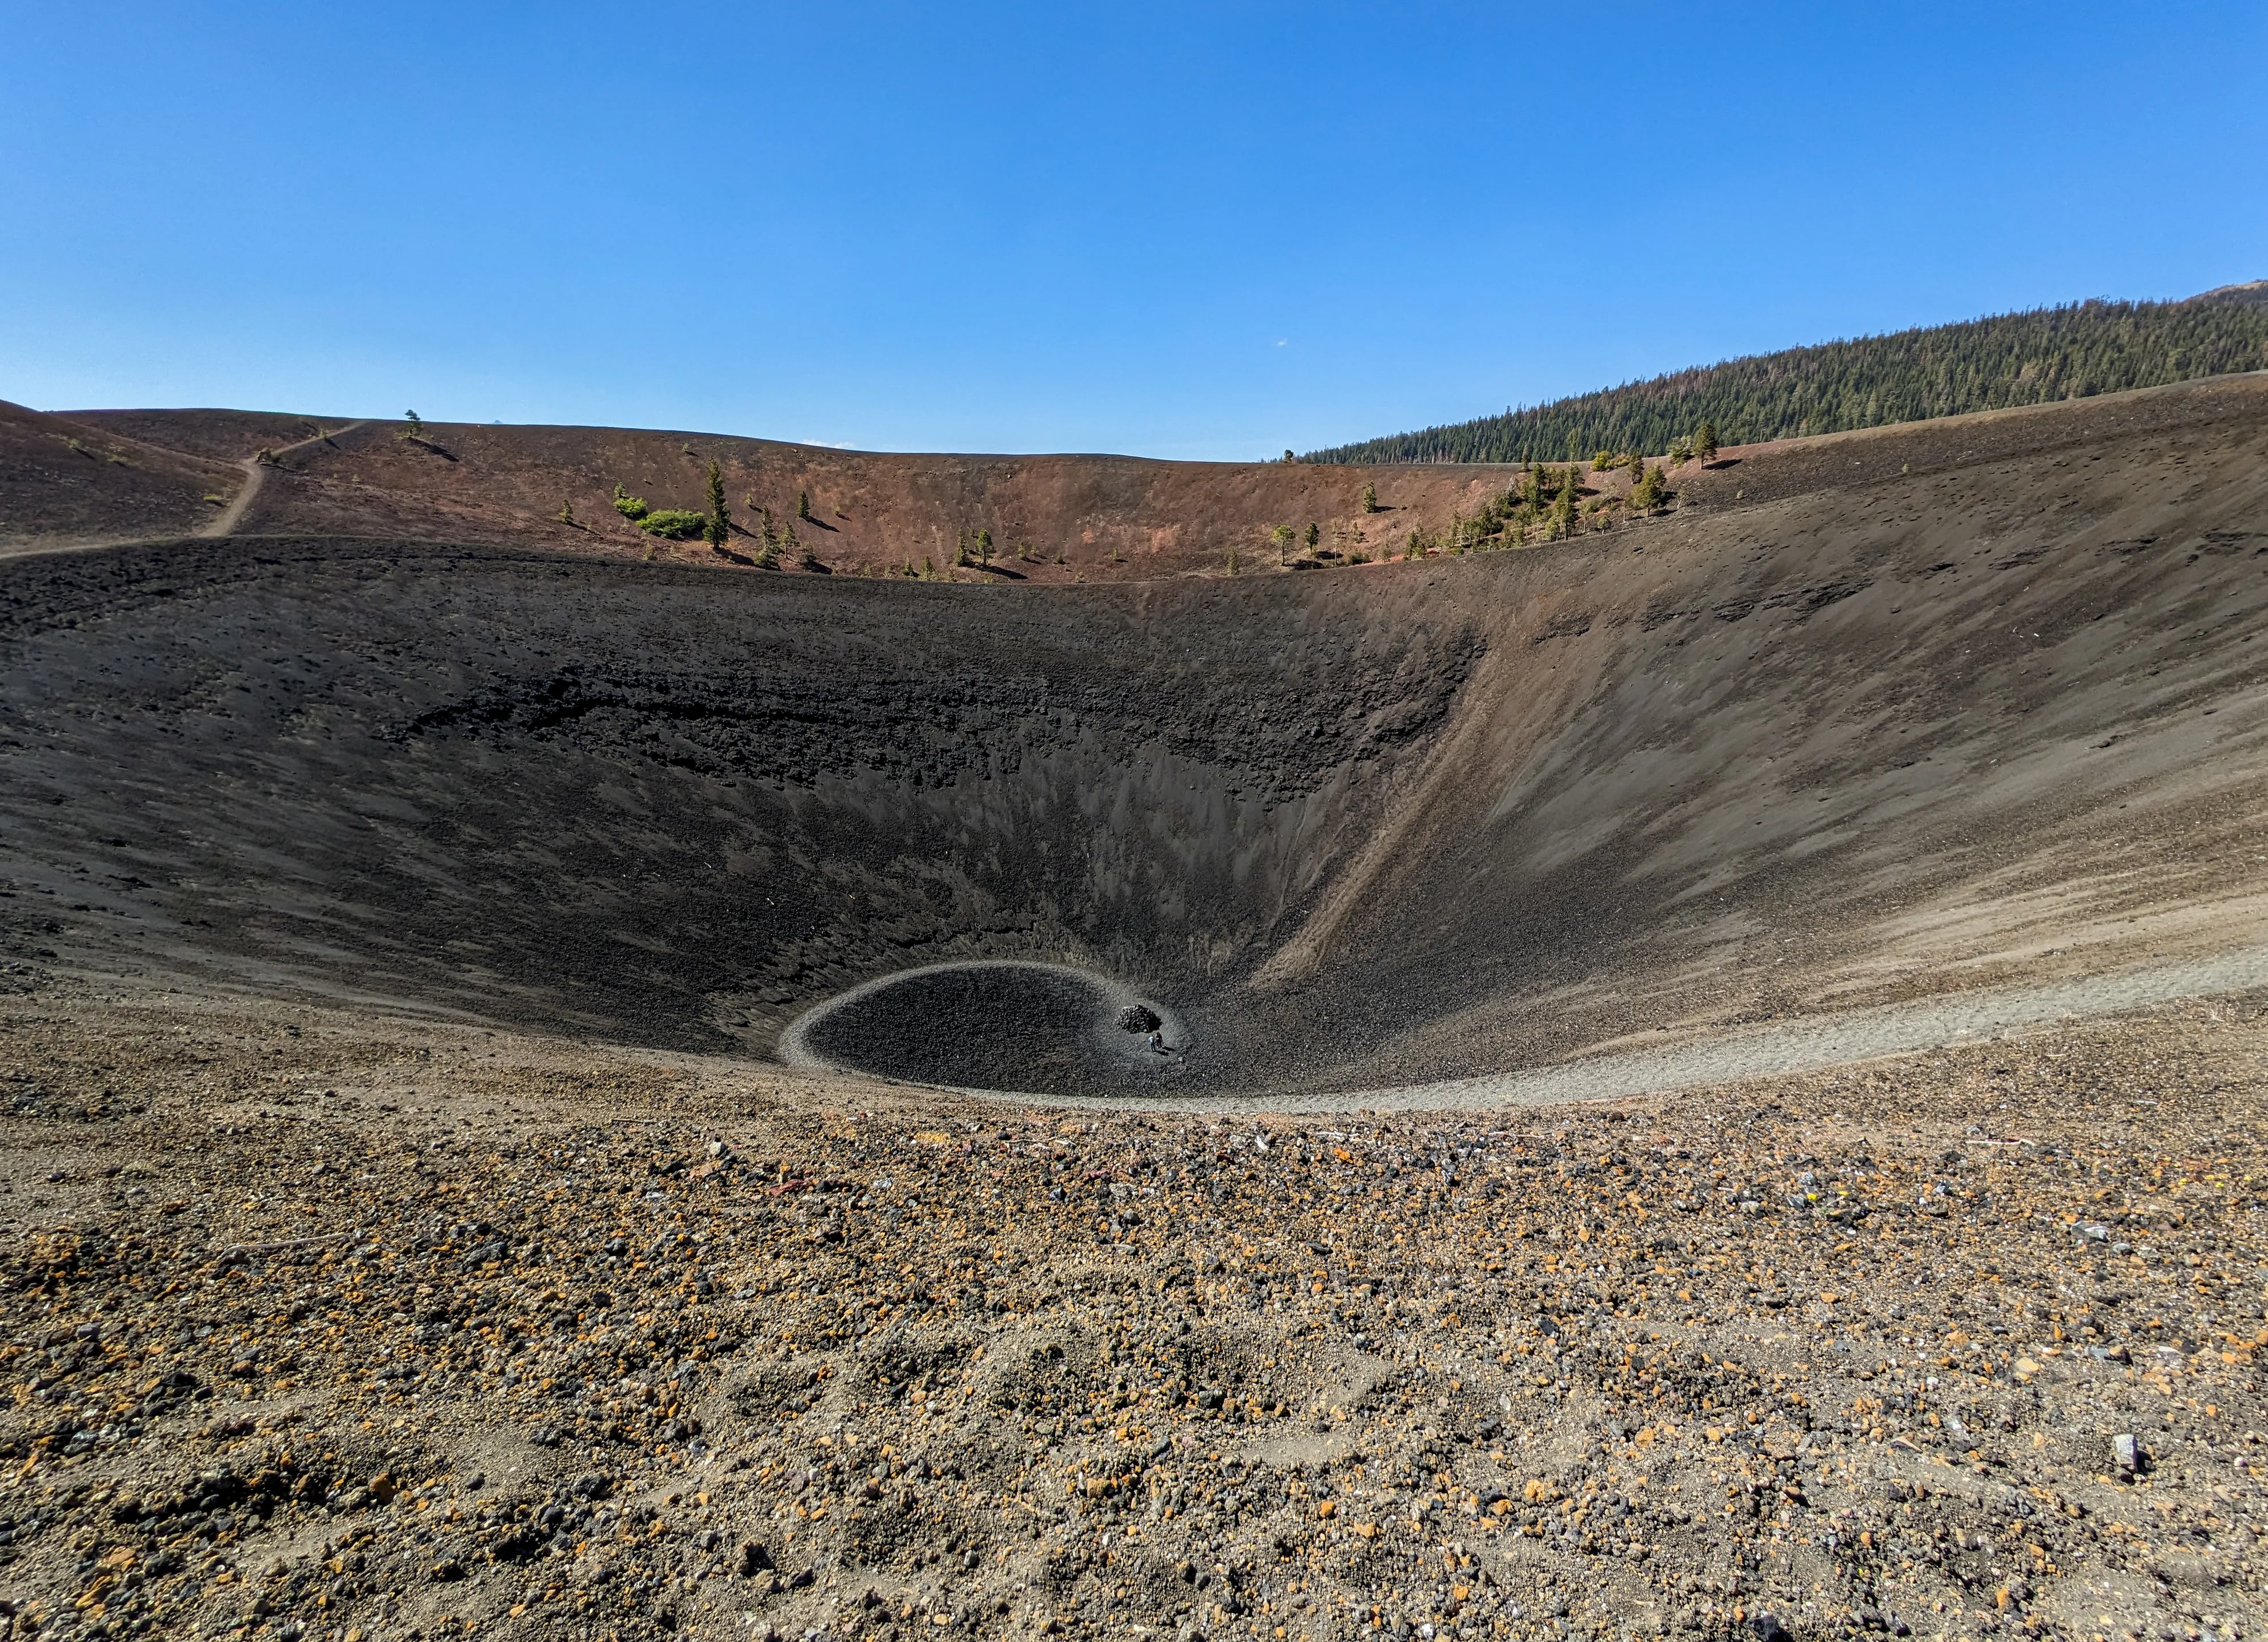
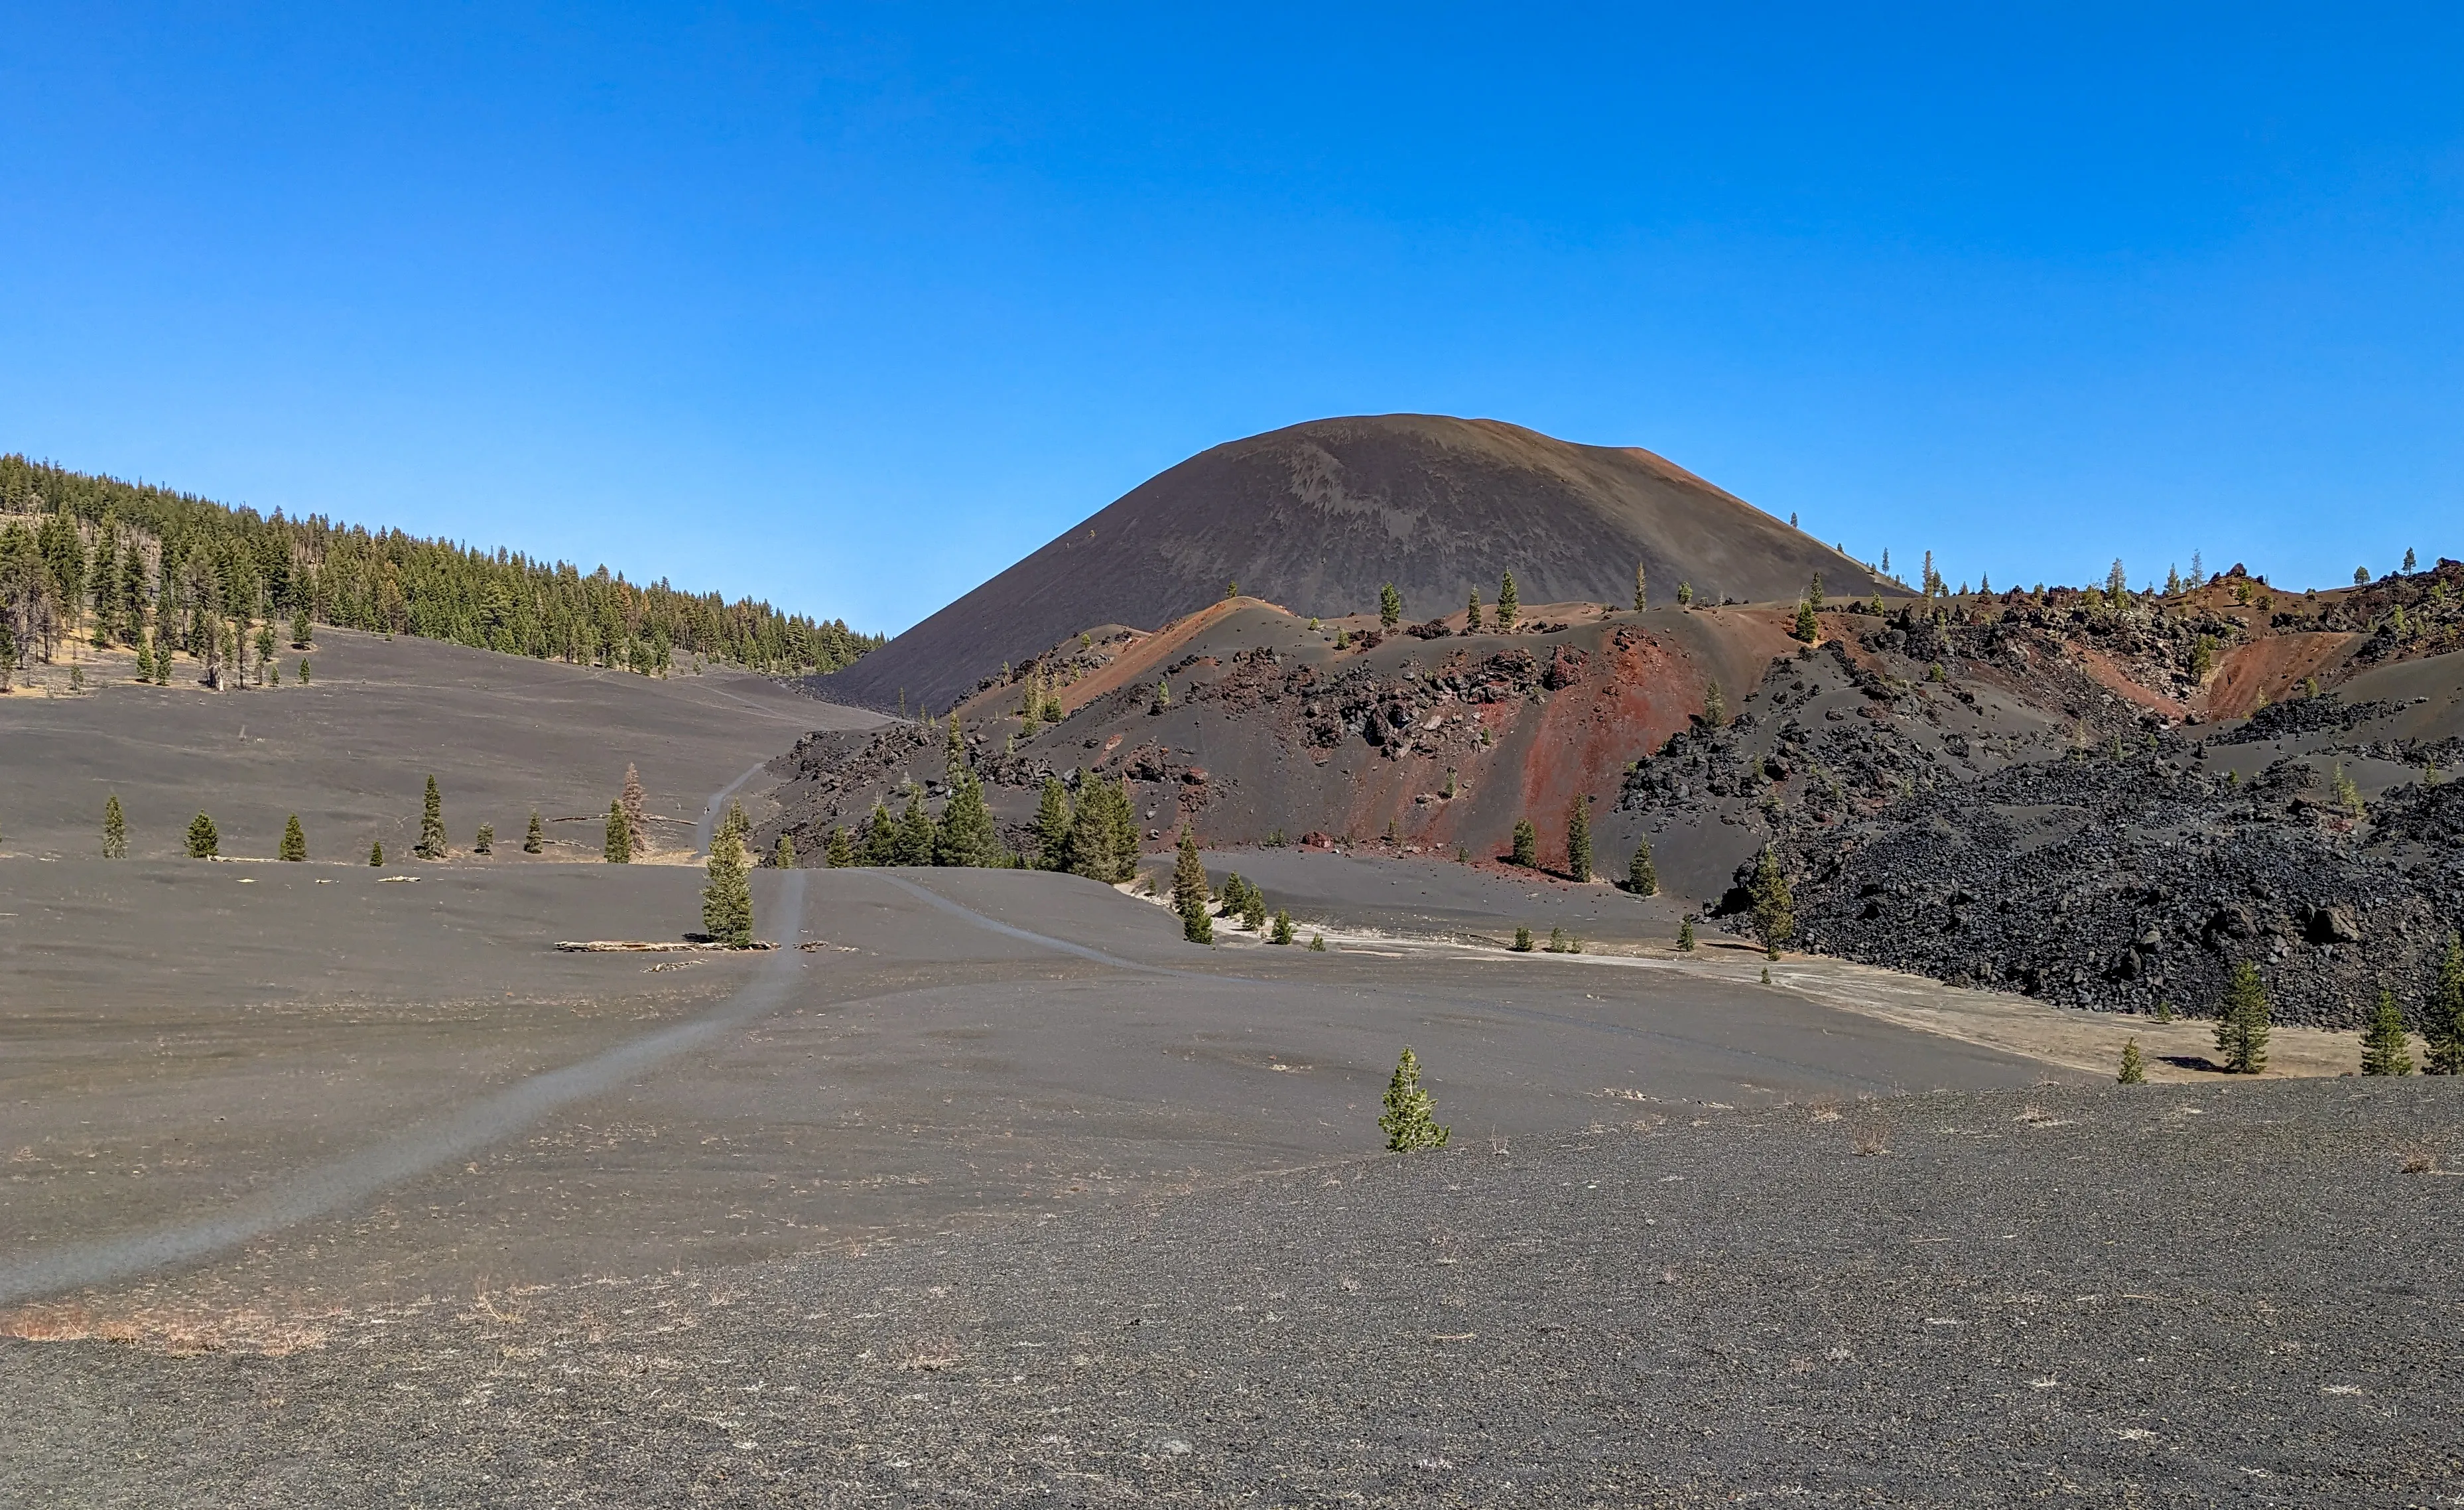
Cinder Cone
A volcanic cone and a drastic change of scenery.
Snag Lake
Another lake along the way.
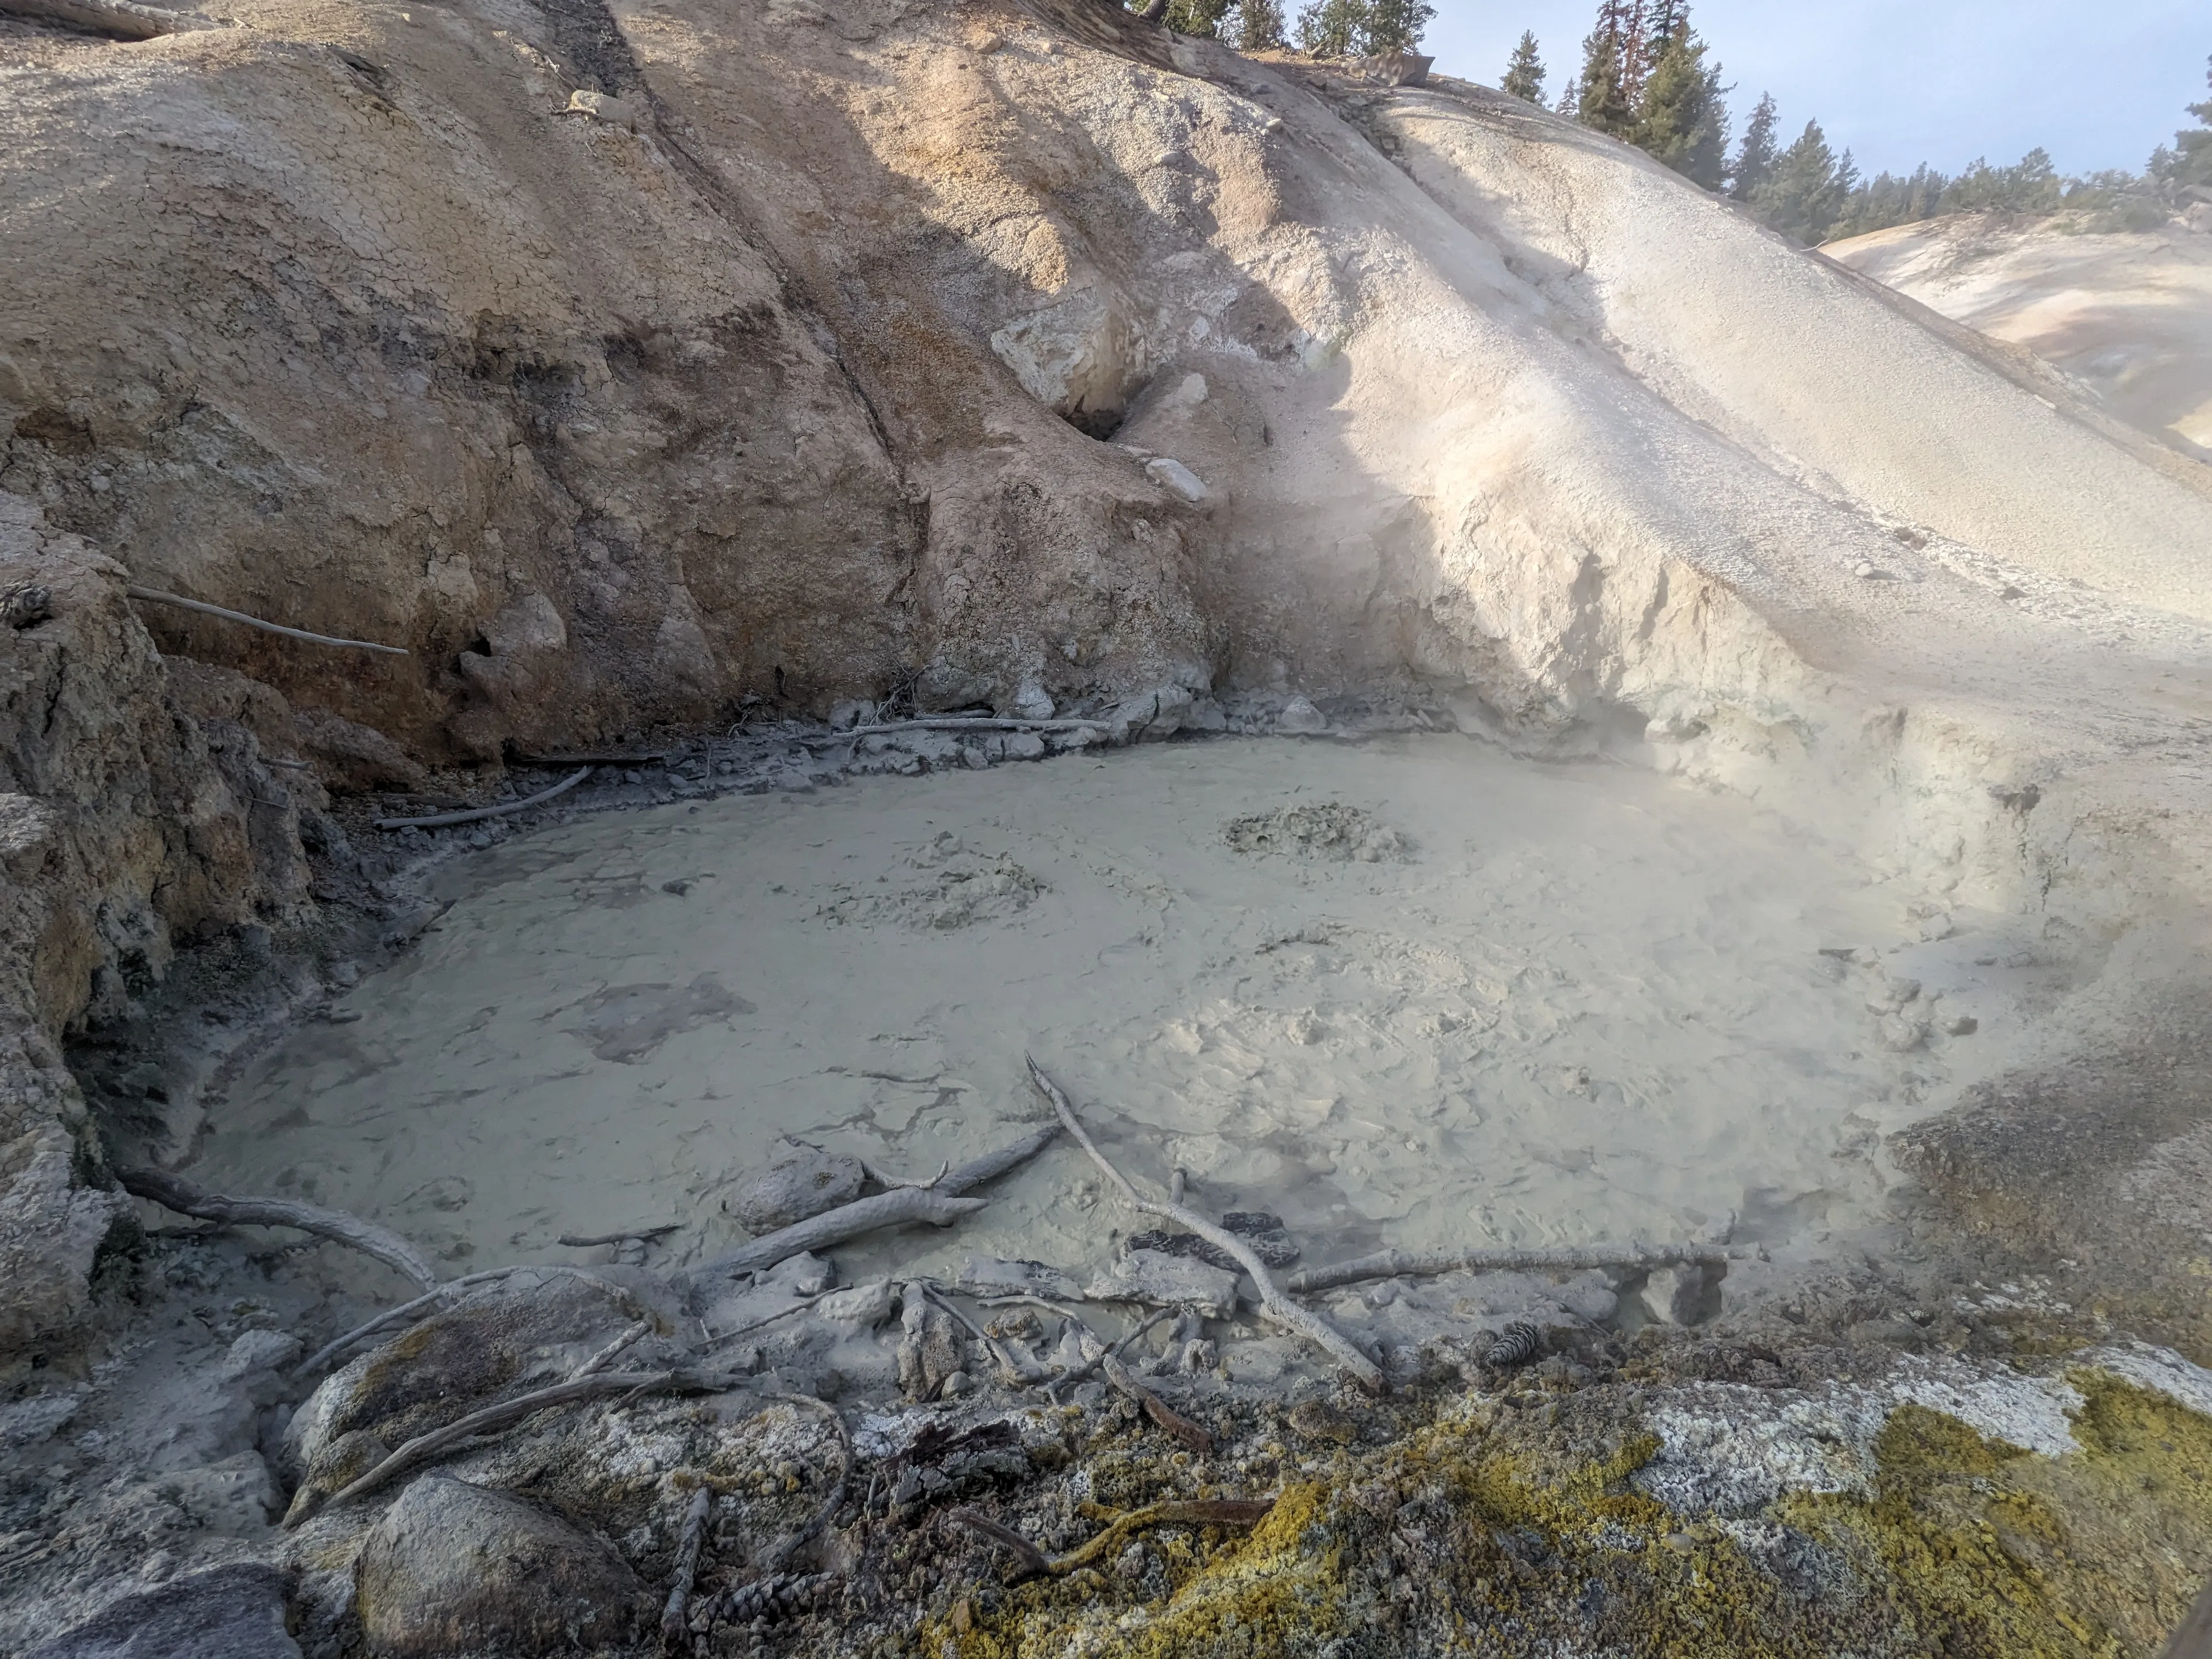
Sulphur Works
Geothermal site with several bubbly mud pots that smells like rotten eggs.
The Rundown
Day 0
The day before, we camped nearby at Battle Creek Campground.
 This was a first come first serve campground while most other campgrounds are on a reservation system. Ideally, stay at Summit Lake Campground or some other campground inside the park to reduce the amount of driving the next day before starting the trip.
Day 1
We started early in the morning to head to Summit Lake and parked at the campground. It’s already beginning to look nice.
 Passing by several lakes and various different terrain, there was not a single dull moment. There were several opportunities to fill up on water or take a nice break by the water.
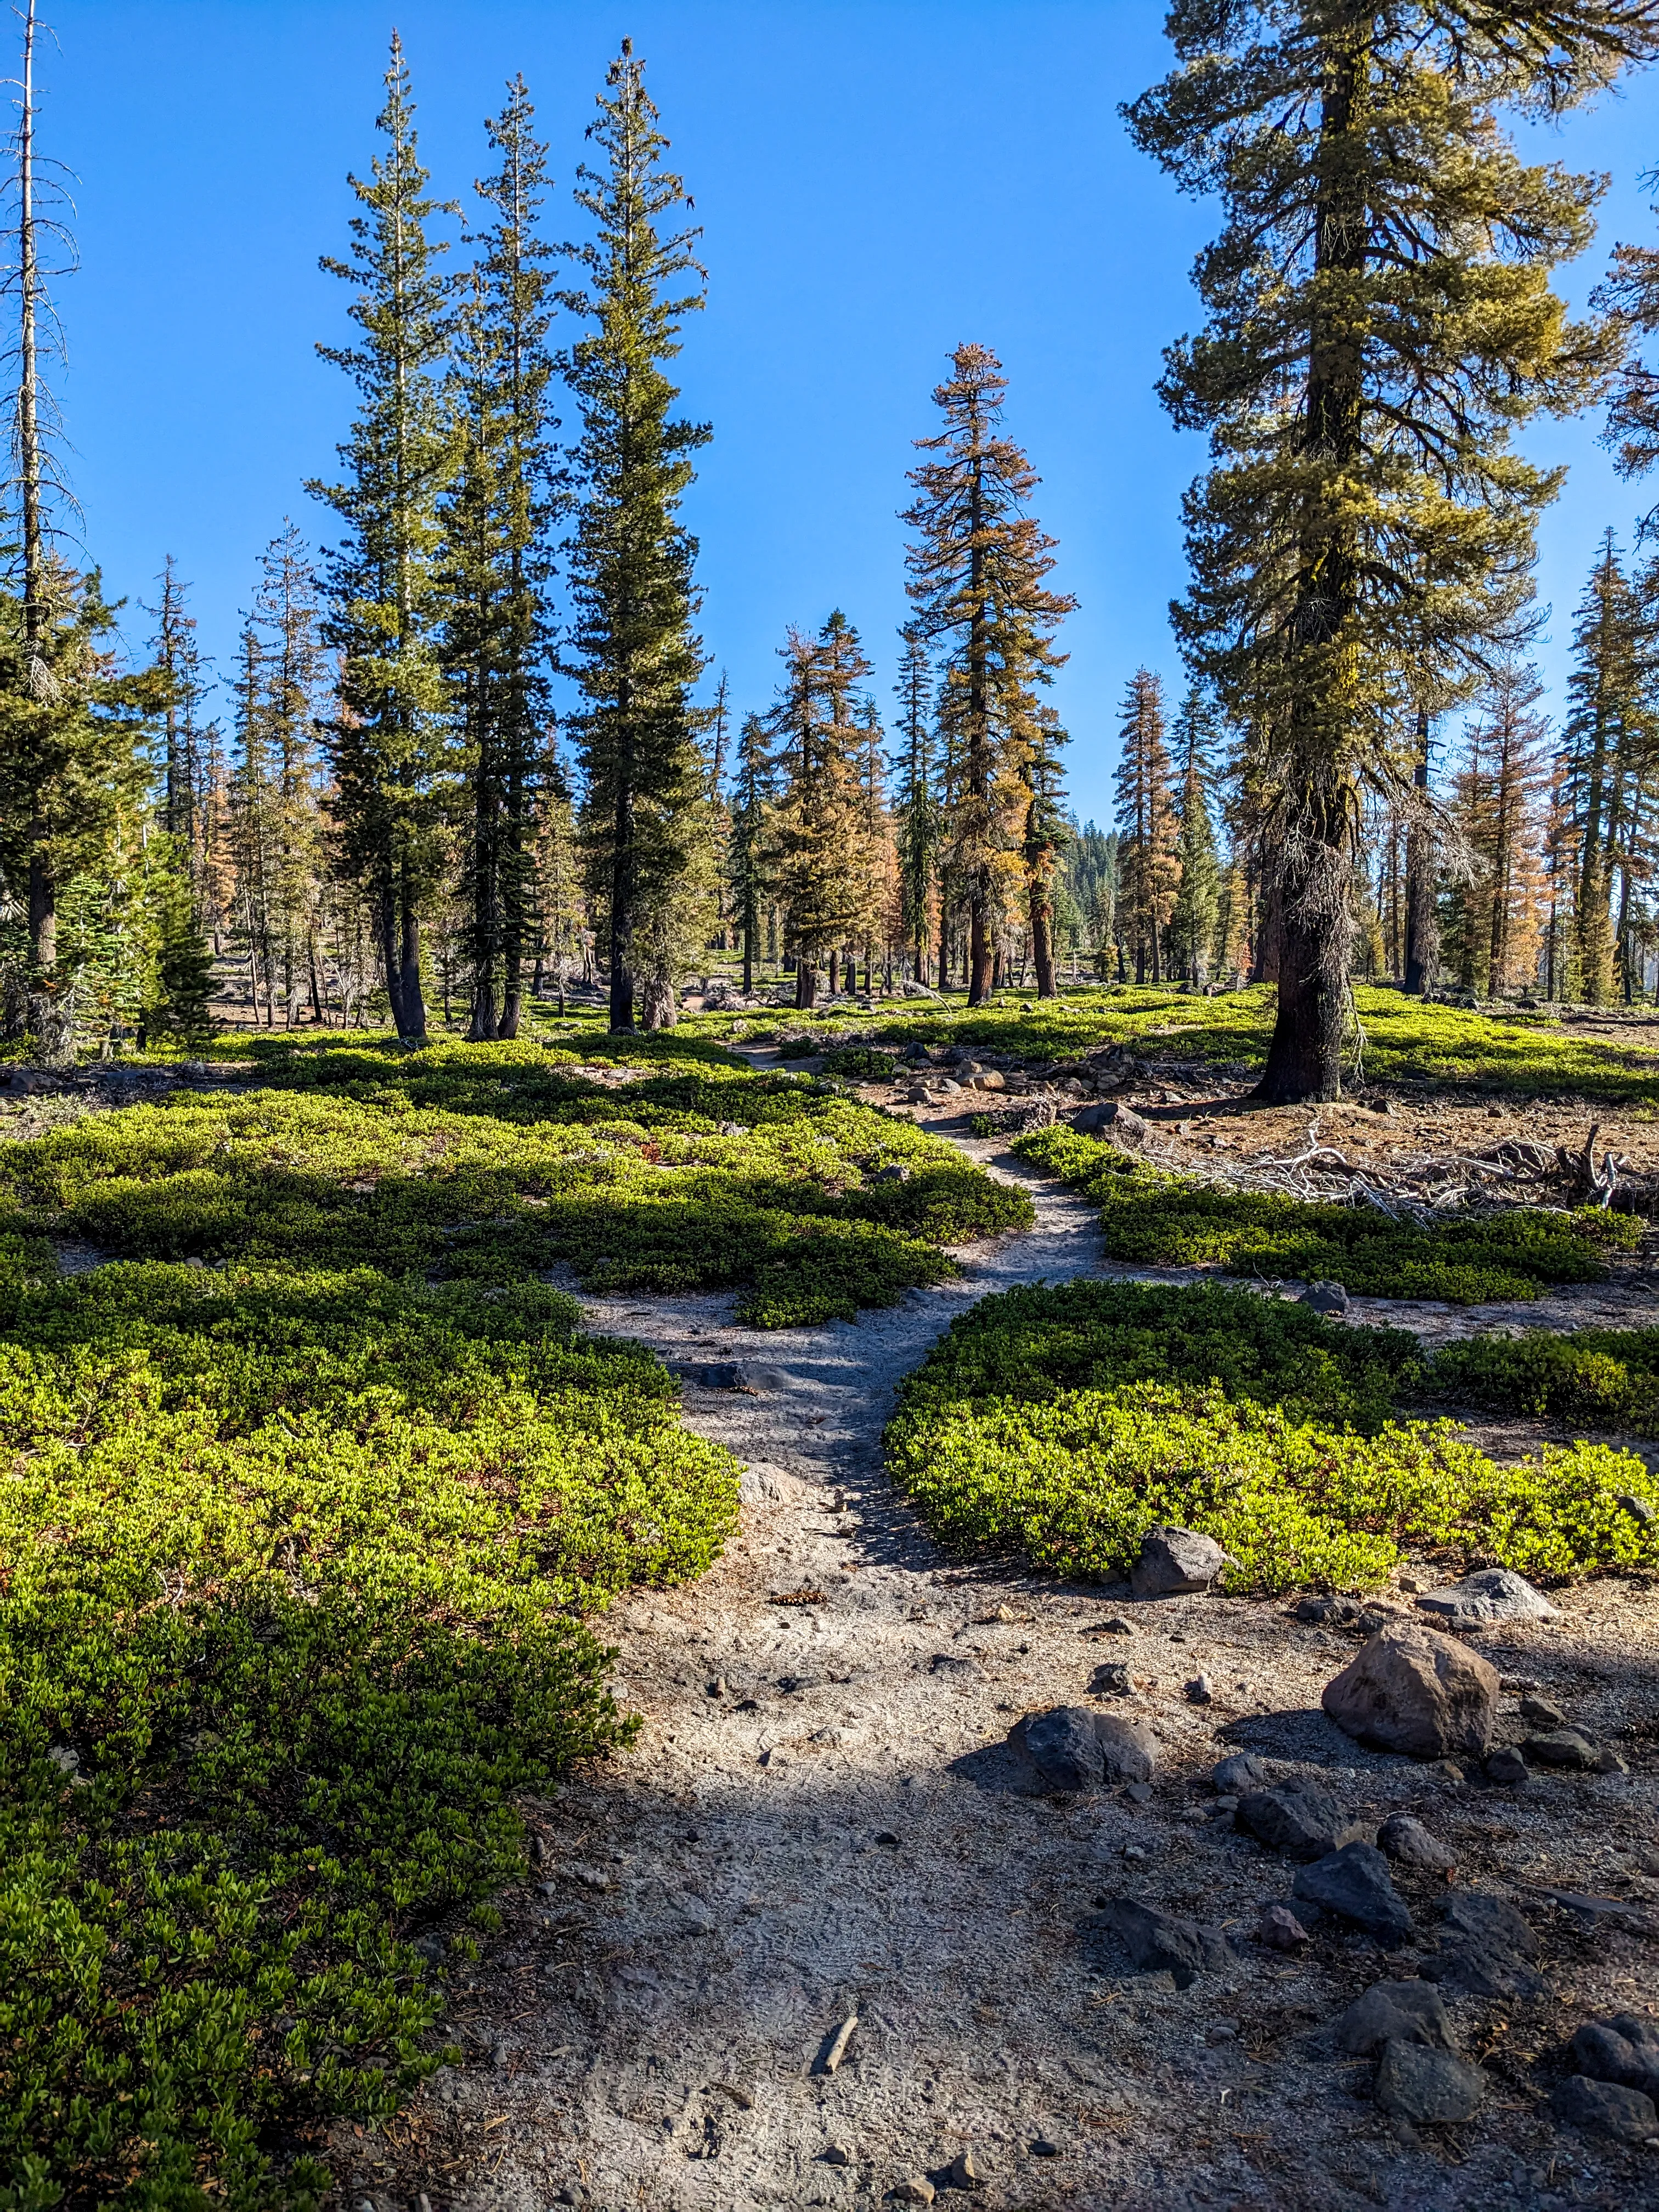
 Surprisingly there weren’t many bugs during the day but bug spray is always good to pack, especially by water. The scenery quickly changes as you approach the volcanic areas. This is the path leading up to the Cinder Cone crater.
 Hiking to the top of Cinder Cone is very worth it, although this was likely the most exhausting part of the entire trip. It is quite steep and windy, so it is much harder to do with backpacks. One option is to leave your bags at the bottom to retrieve afterwards. However, if you want to continue on the trail on the other side of the crater, then you have no choice but to carry your bags.
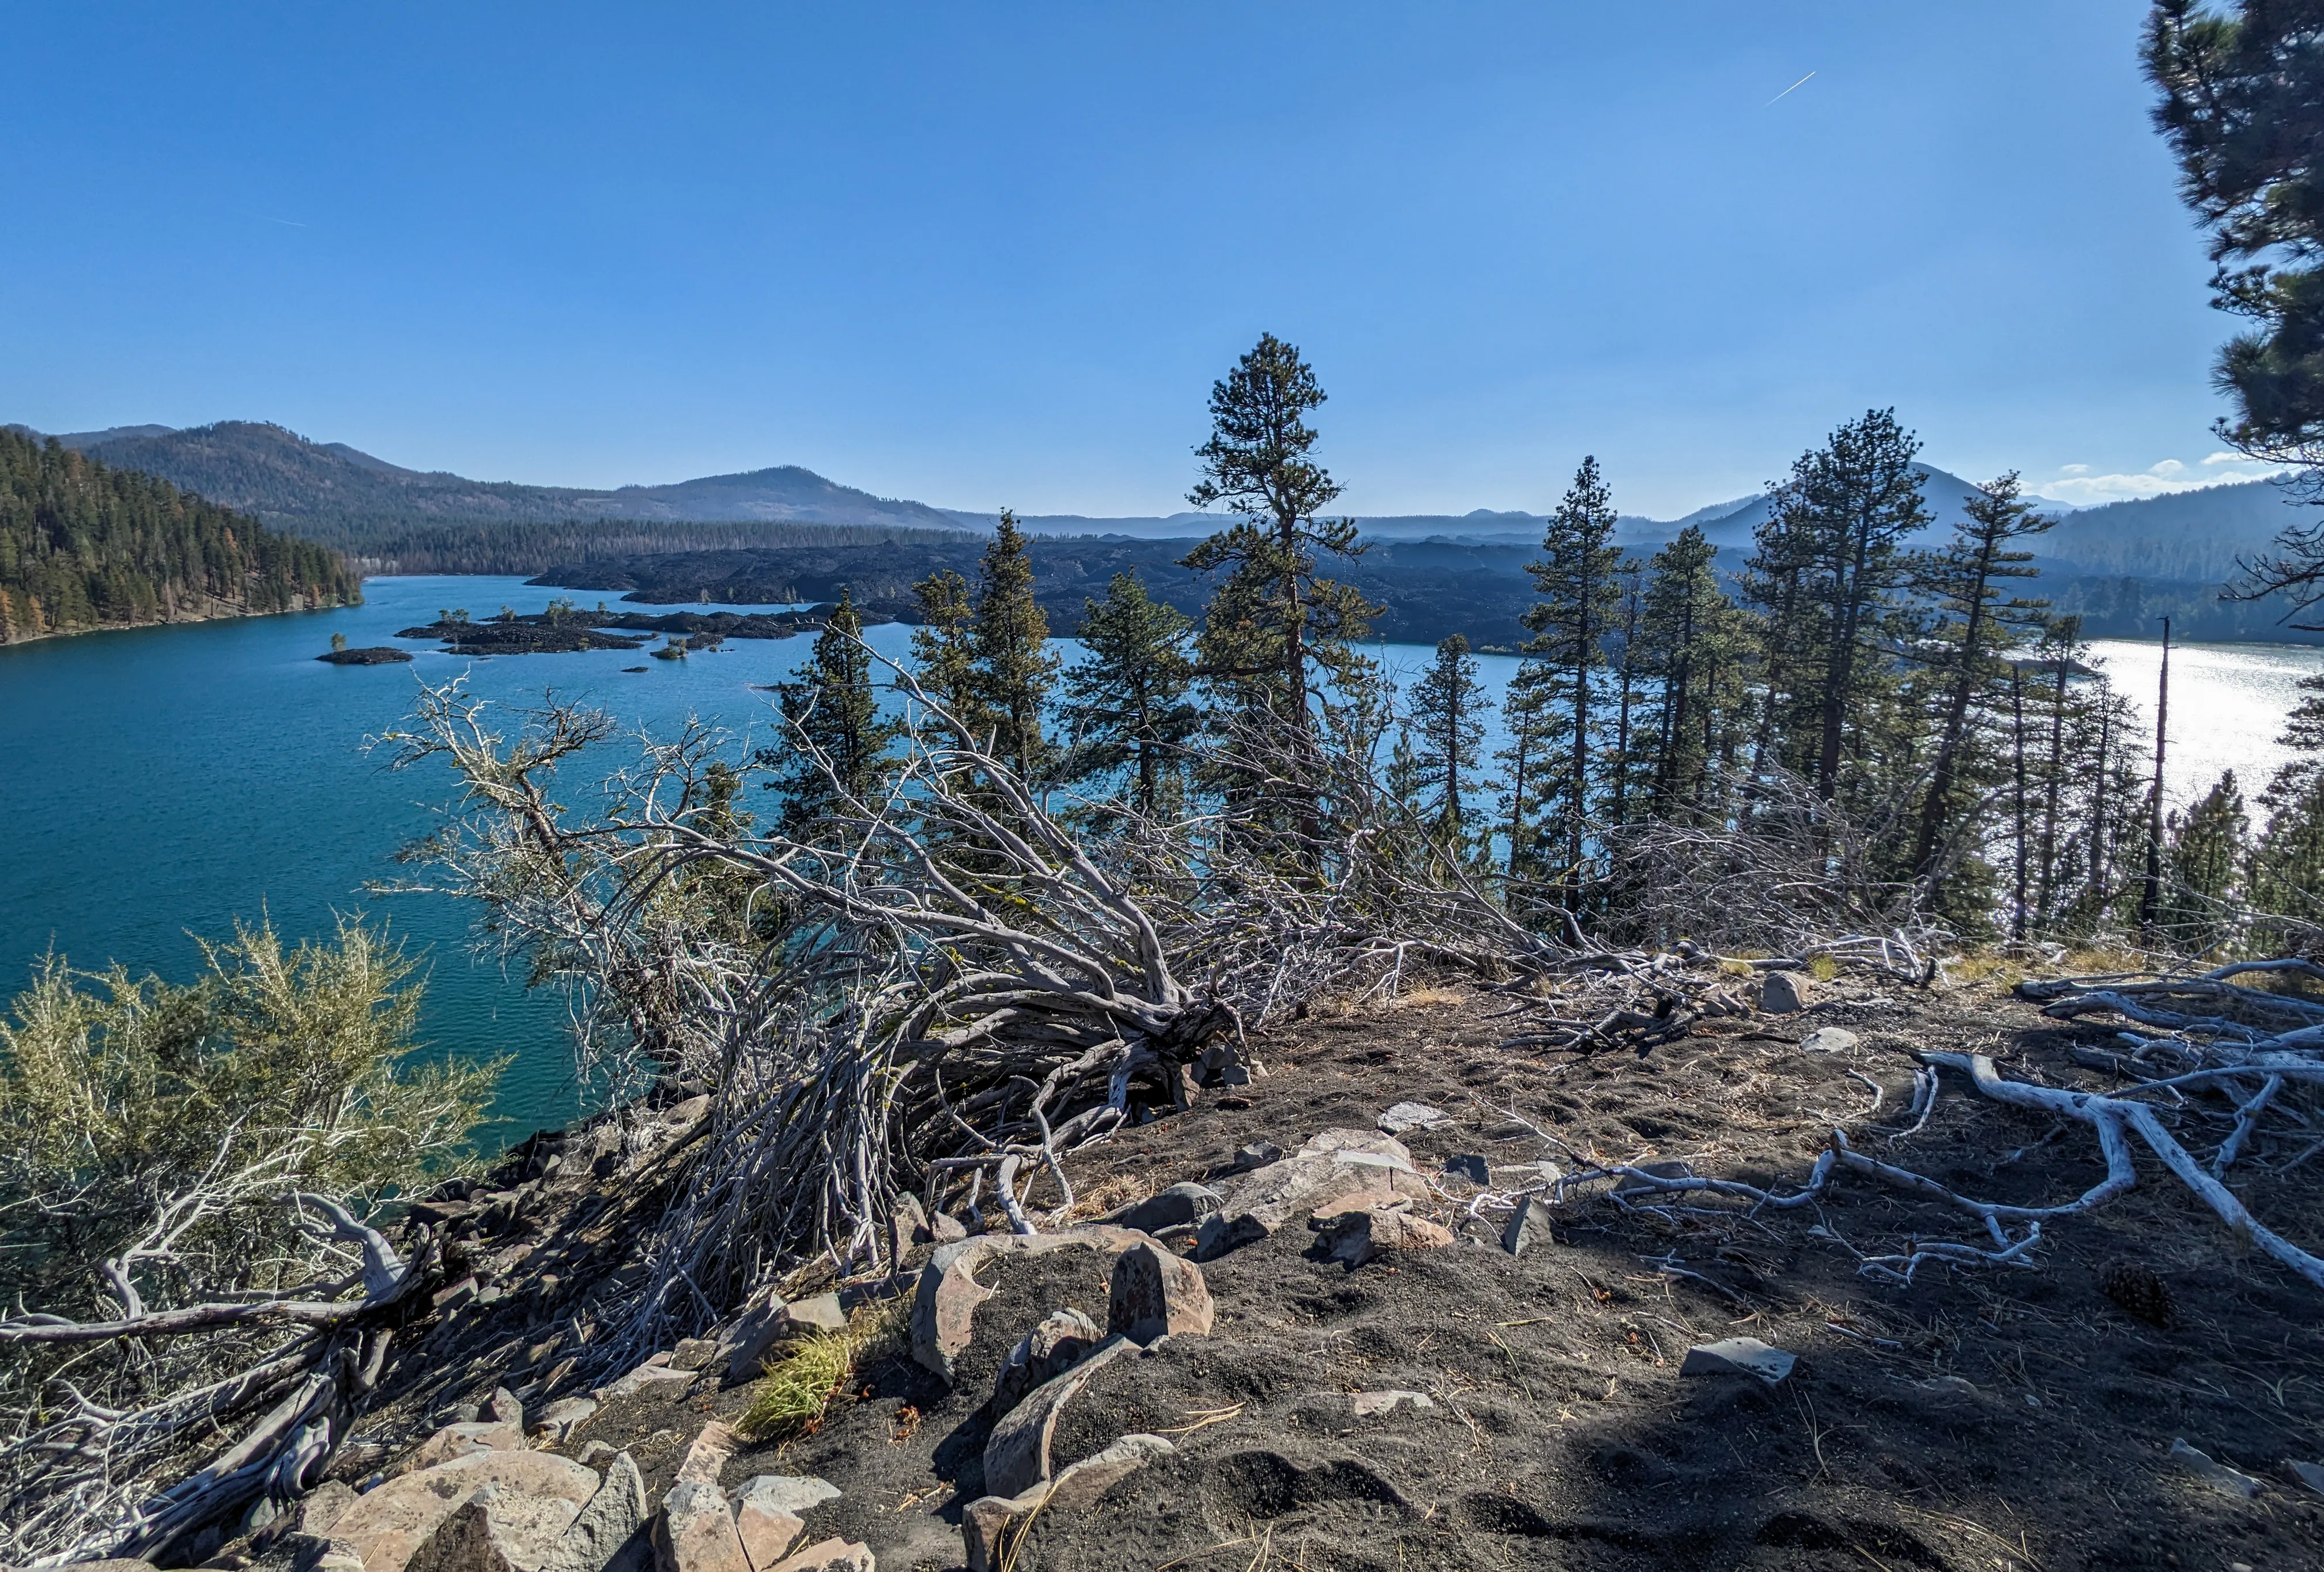
The trail then loops up around Butte Lake and you’ll get some nice views overlooking the lake. There is a bit more elevation gain through this portion but overall, the hike was relatively flat. There is a campground at Butte Lake, which makes it a good spot to fill up on water and use the restrooms.
Hiking to the top of Cinder Cone is very worth it, although this was likely the most exhausting part of the entire trip. It is quite steep and windy, so it is much harder to do with backpacks. One option is to leave your bags at the bottom to retrieve afterwards. However, if you want to continue on the trail on the other side of the crater, then you have no choice but to carry your bags.
The trail then loops up around Butte Lake and you’ll get some nice views overlooking the lake. There is a bit more elevation gain through this portion but overall, the hike was relatively flat. There is a campground at Butte Lake, which makes it a good spot to fill up on water and use the restrooms.
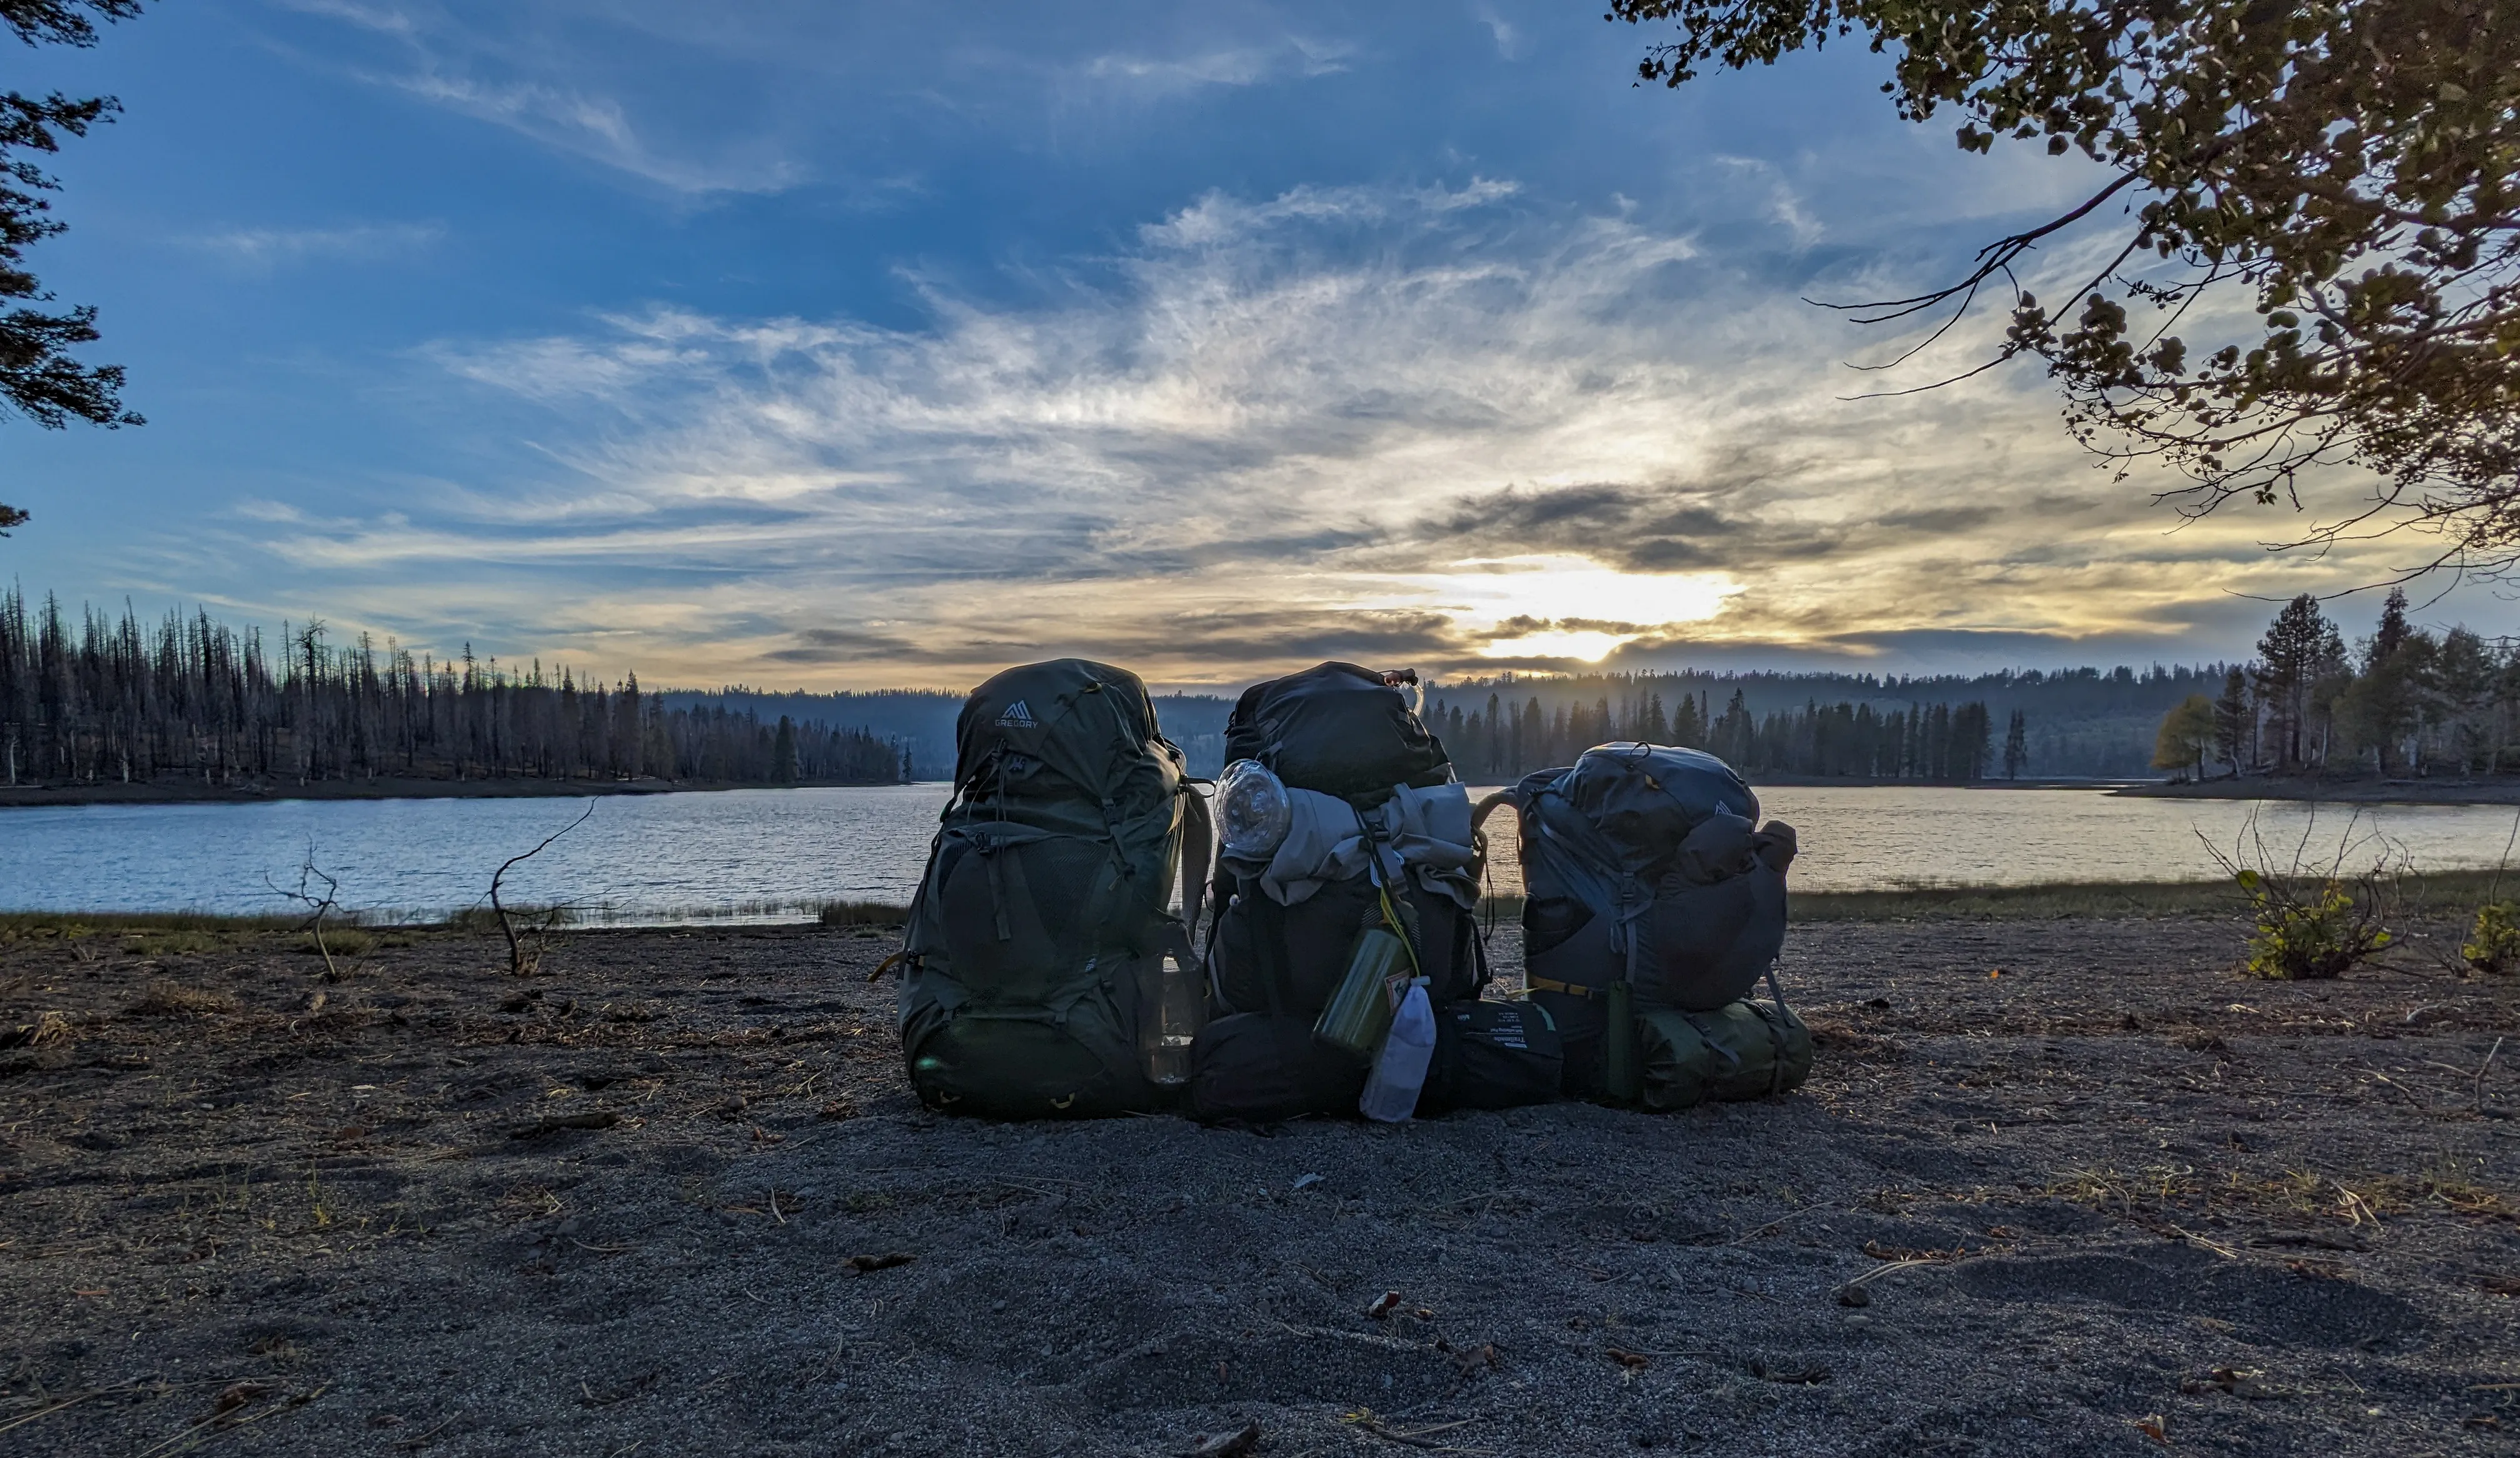
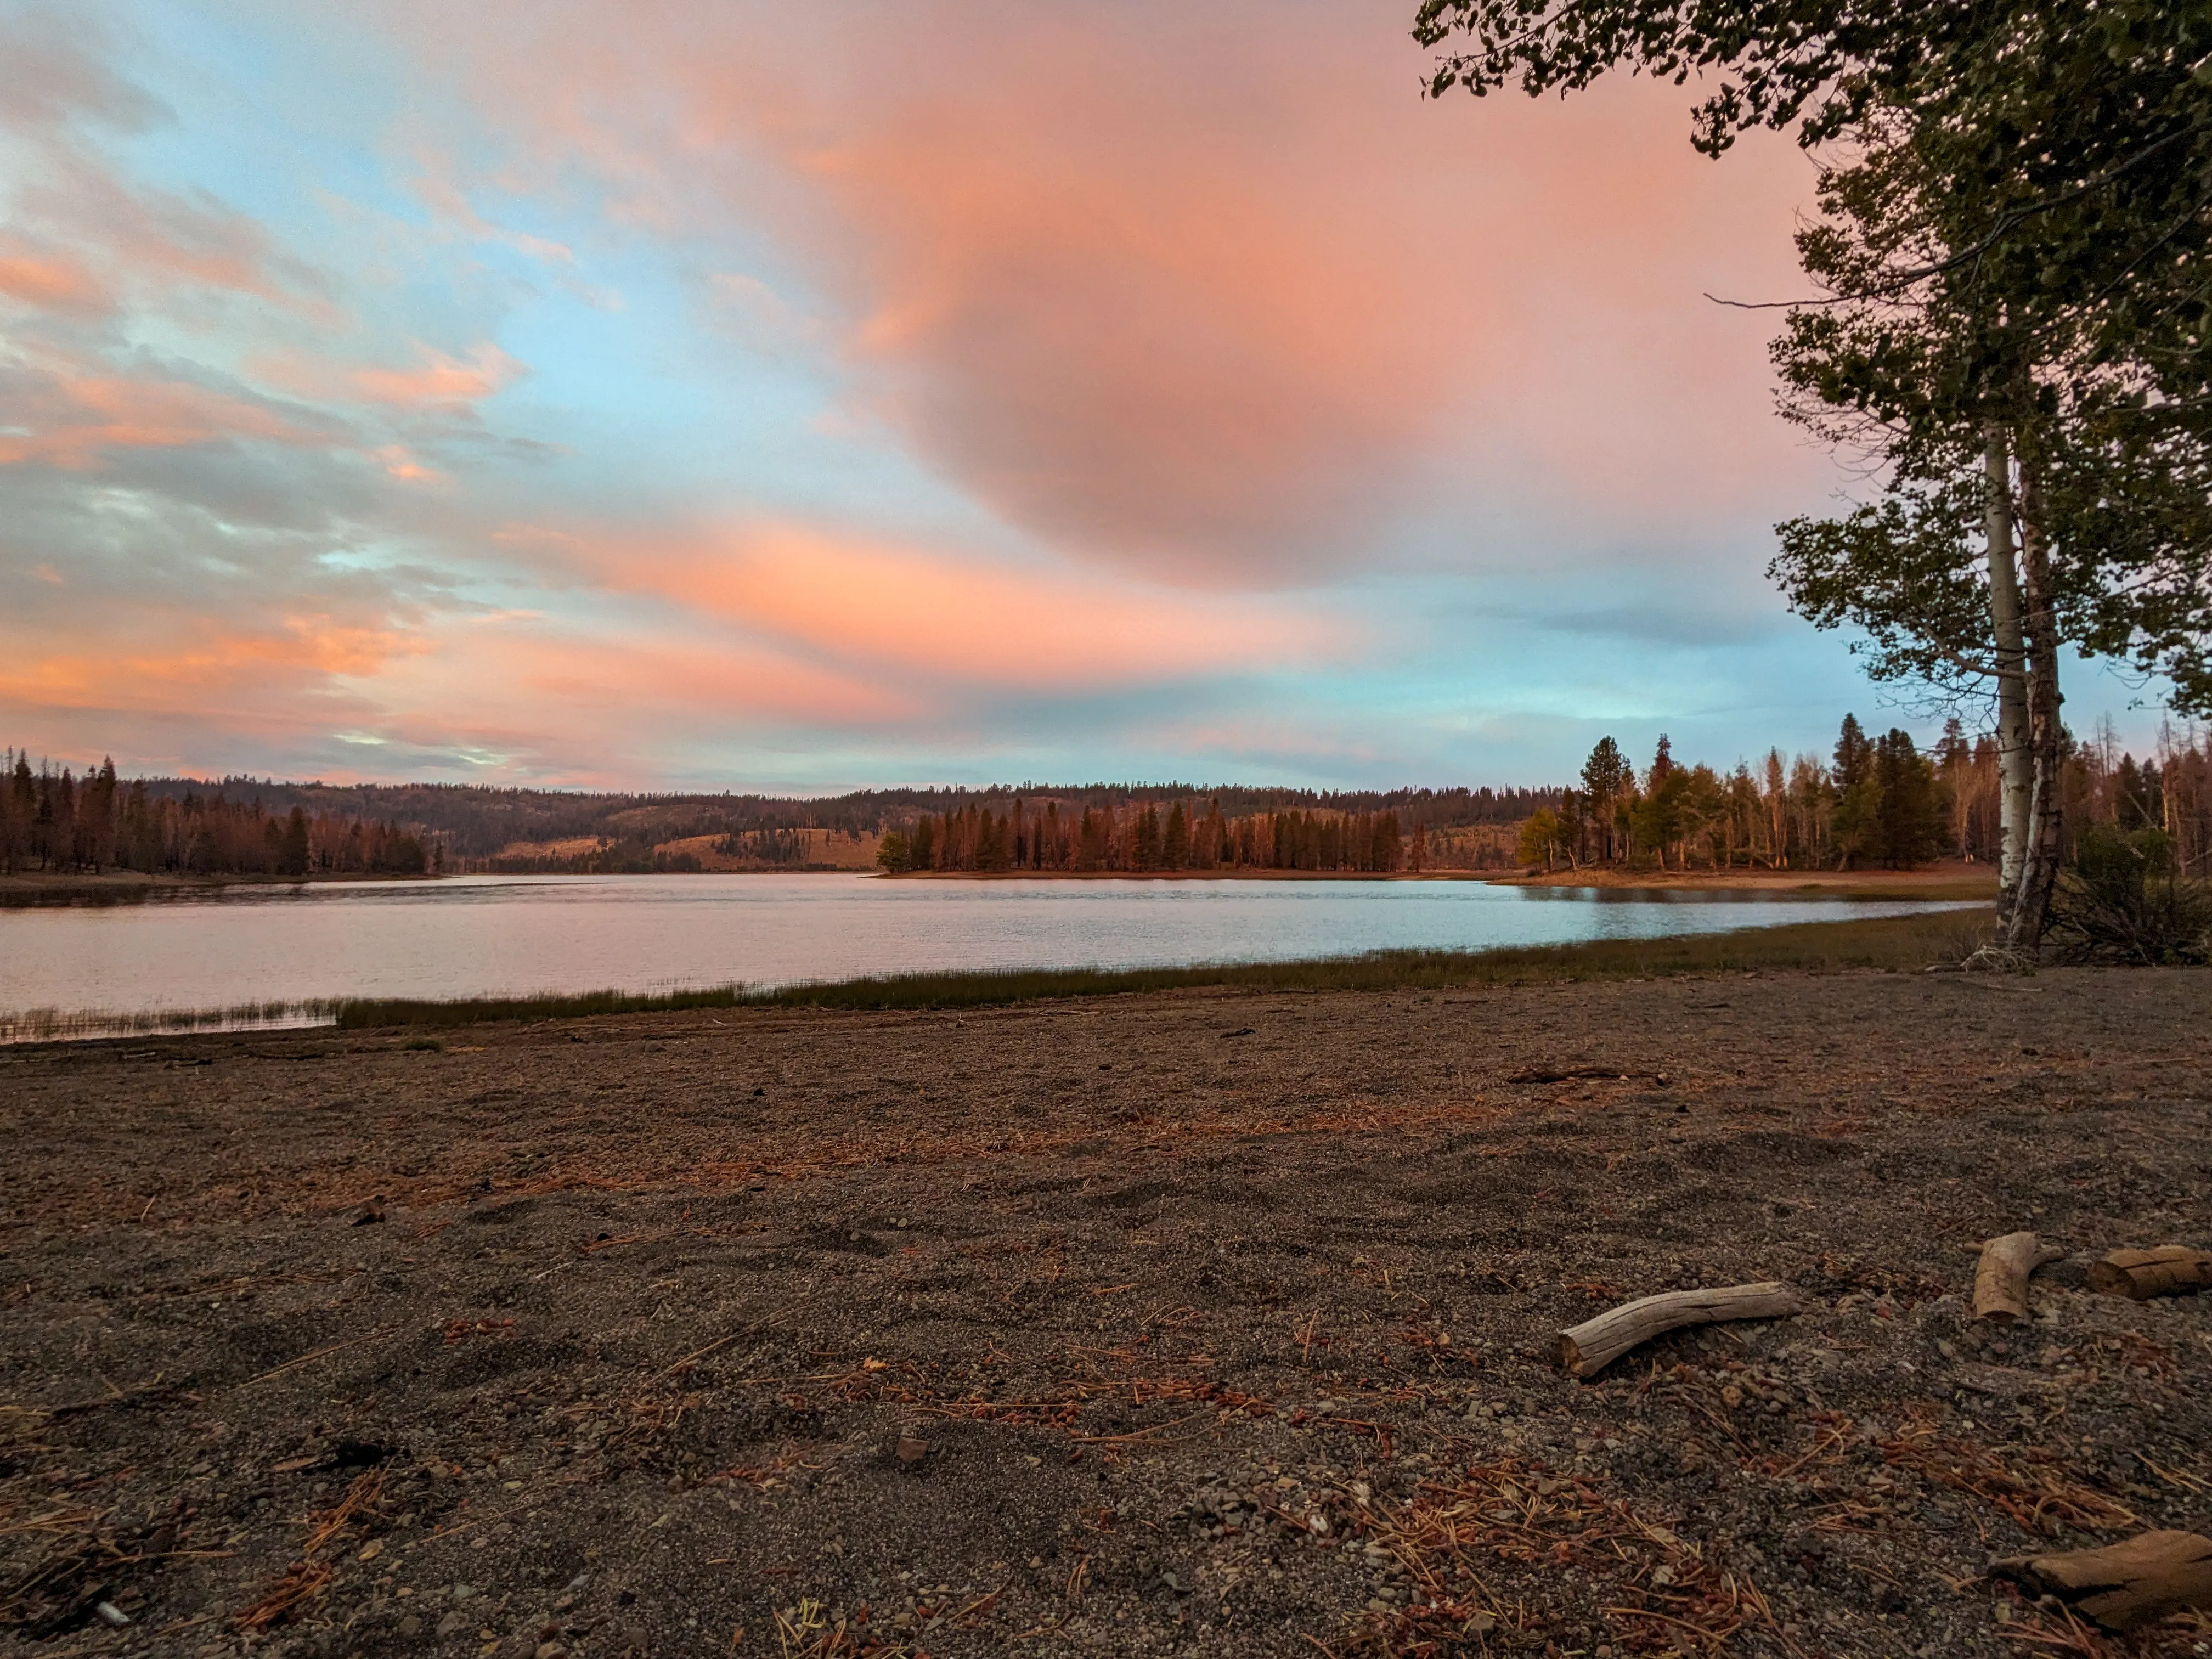
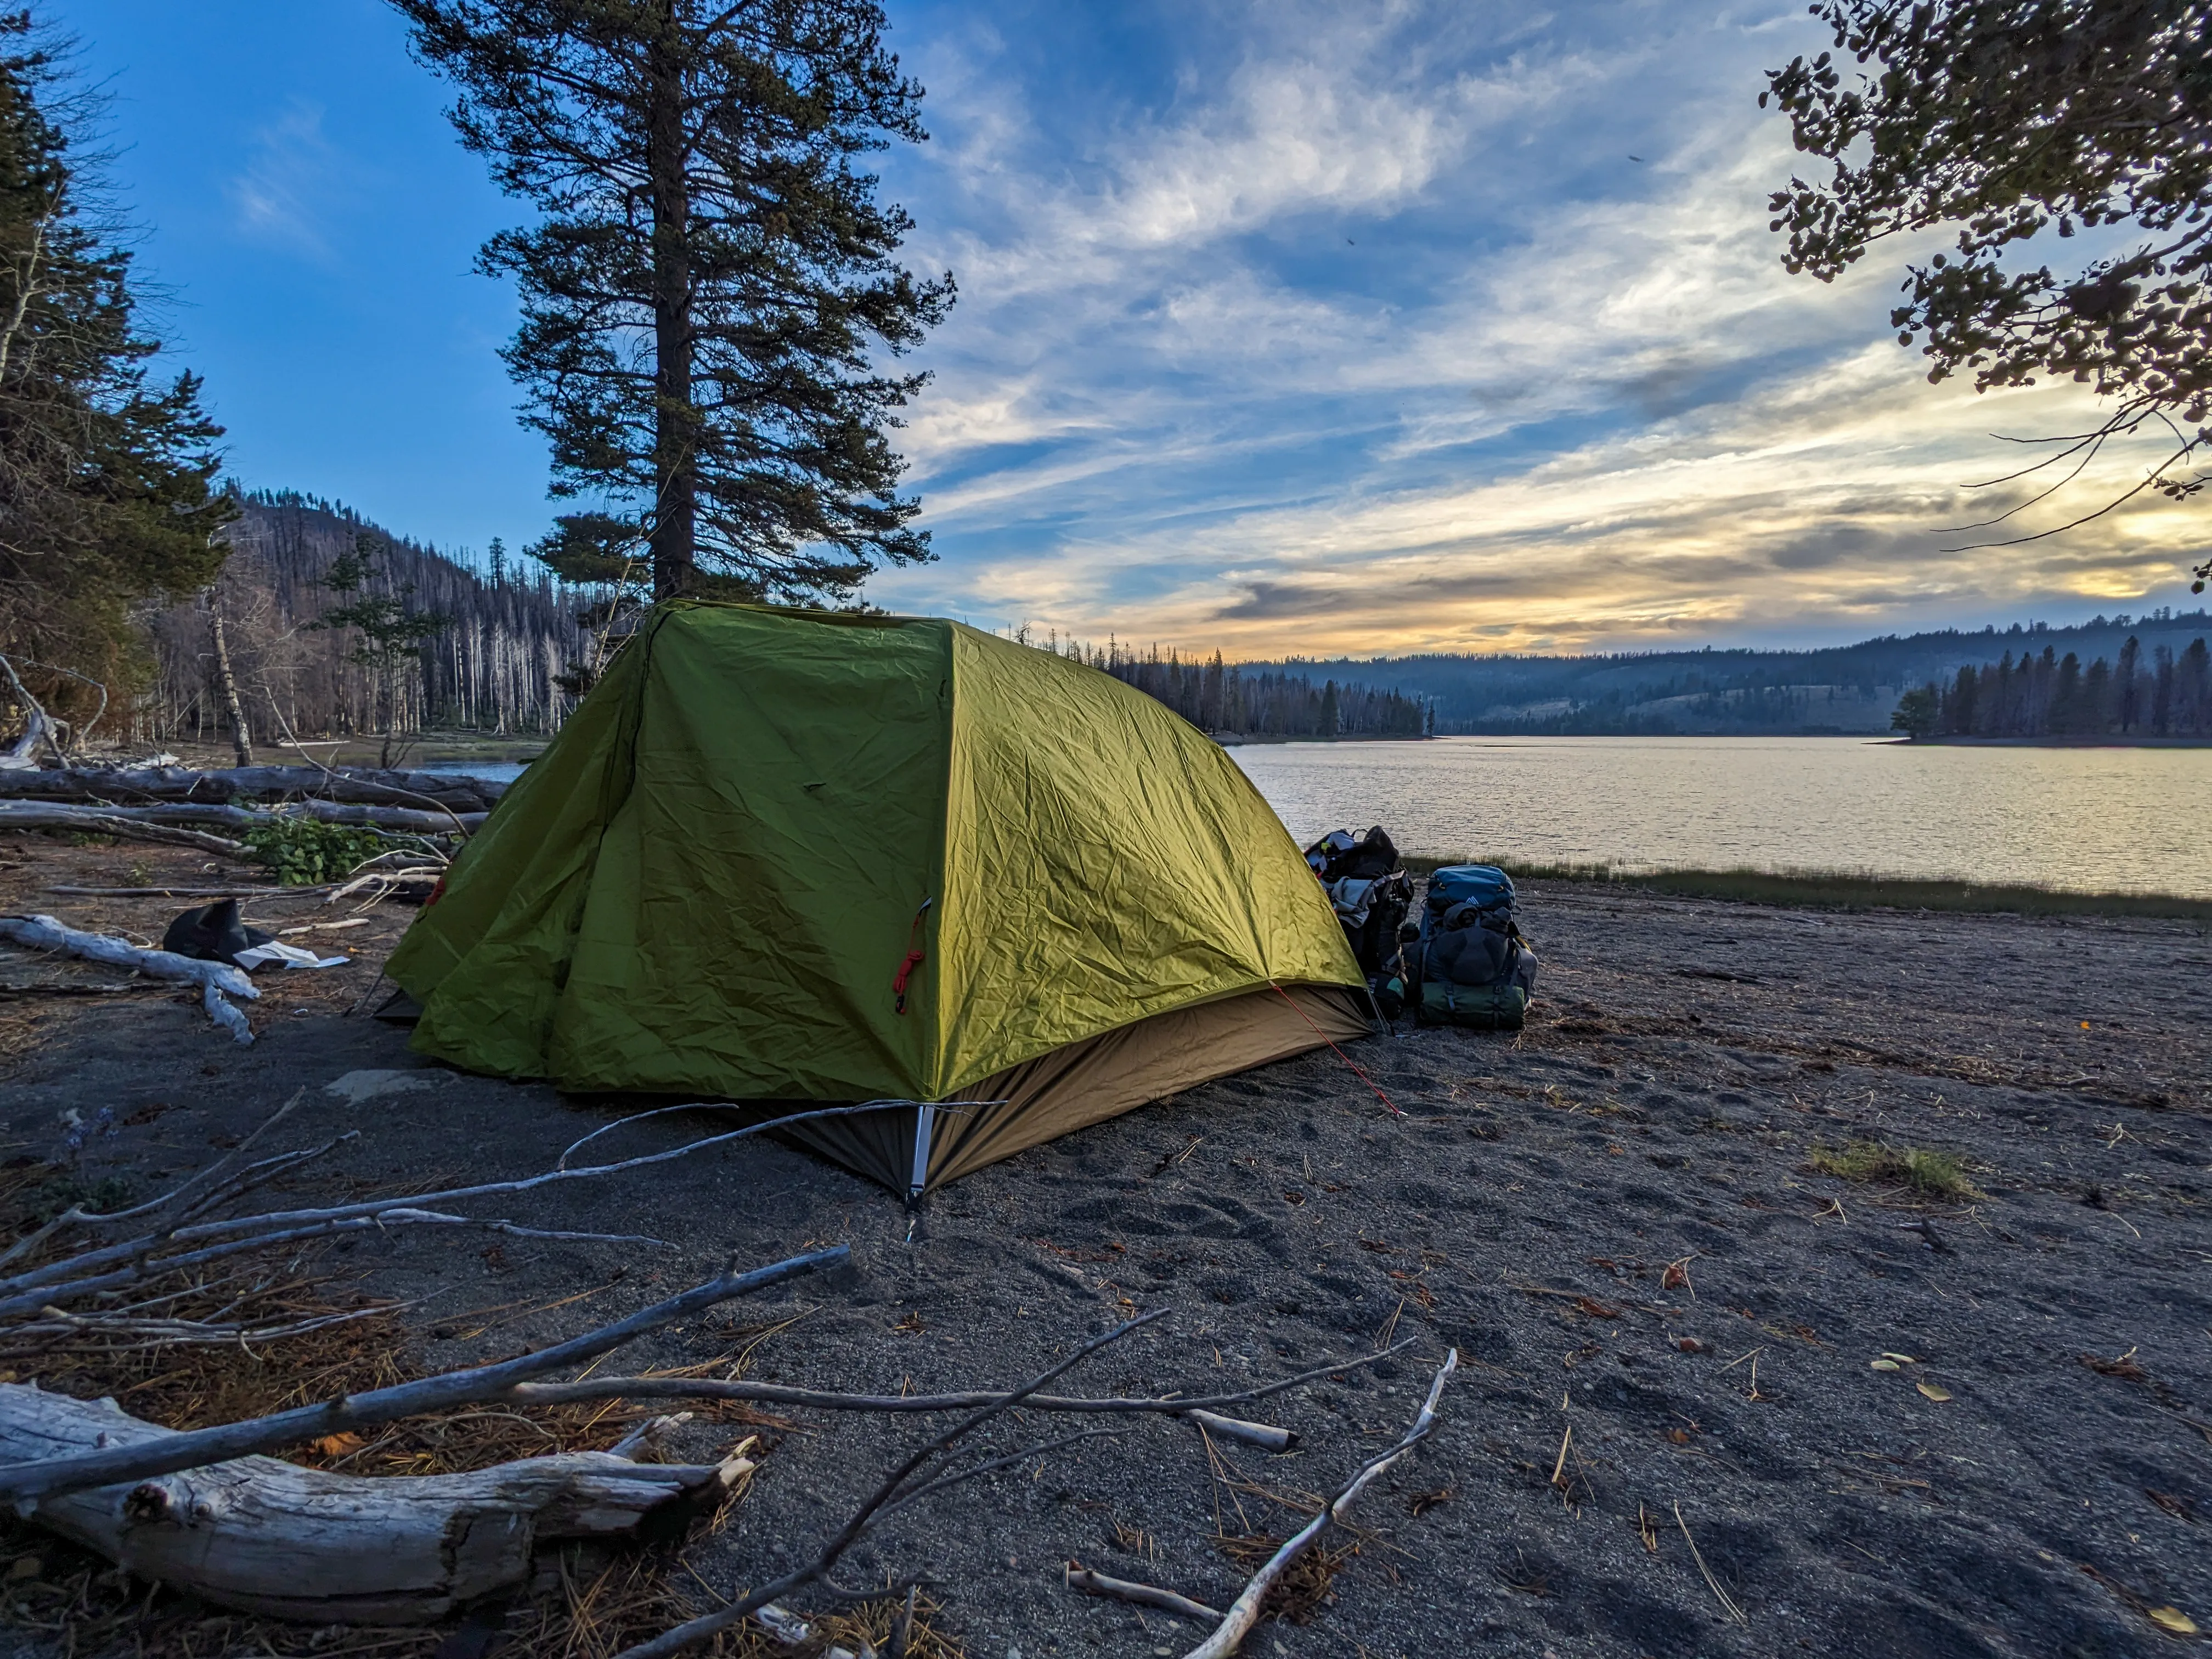
 At the end of the first day we camped at Snag Lake. We were a bit rushed as the crater hike took longer than expected so we stopped as soon as we saw the lake, which was right before sunset. This side of the lake was unfortunately swampy, so it’s not recommended to drink the water here. Overall, the camping spot was good and there was only one other group in site on the other side of the lake. Plus, beach sites usually offer a nice soft ground.
Day 2
Check out the wildlife that paid us a visit during breakfast.
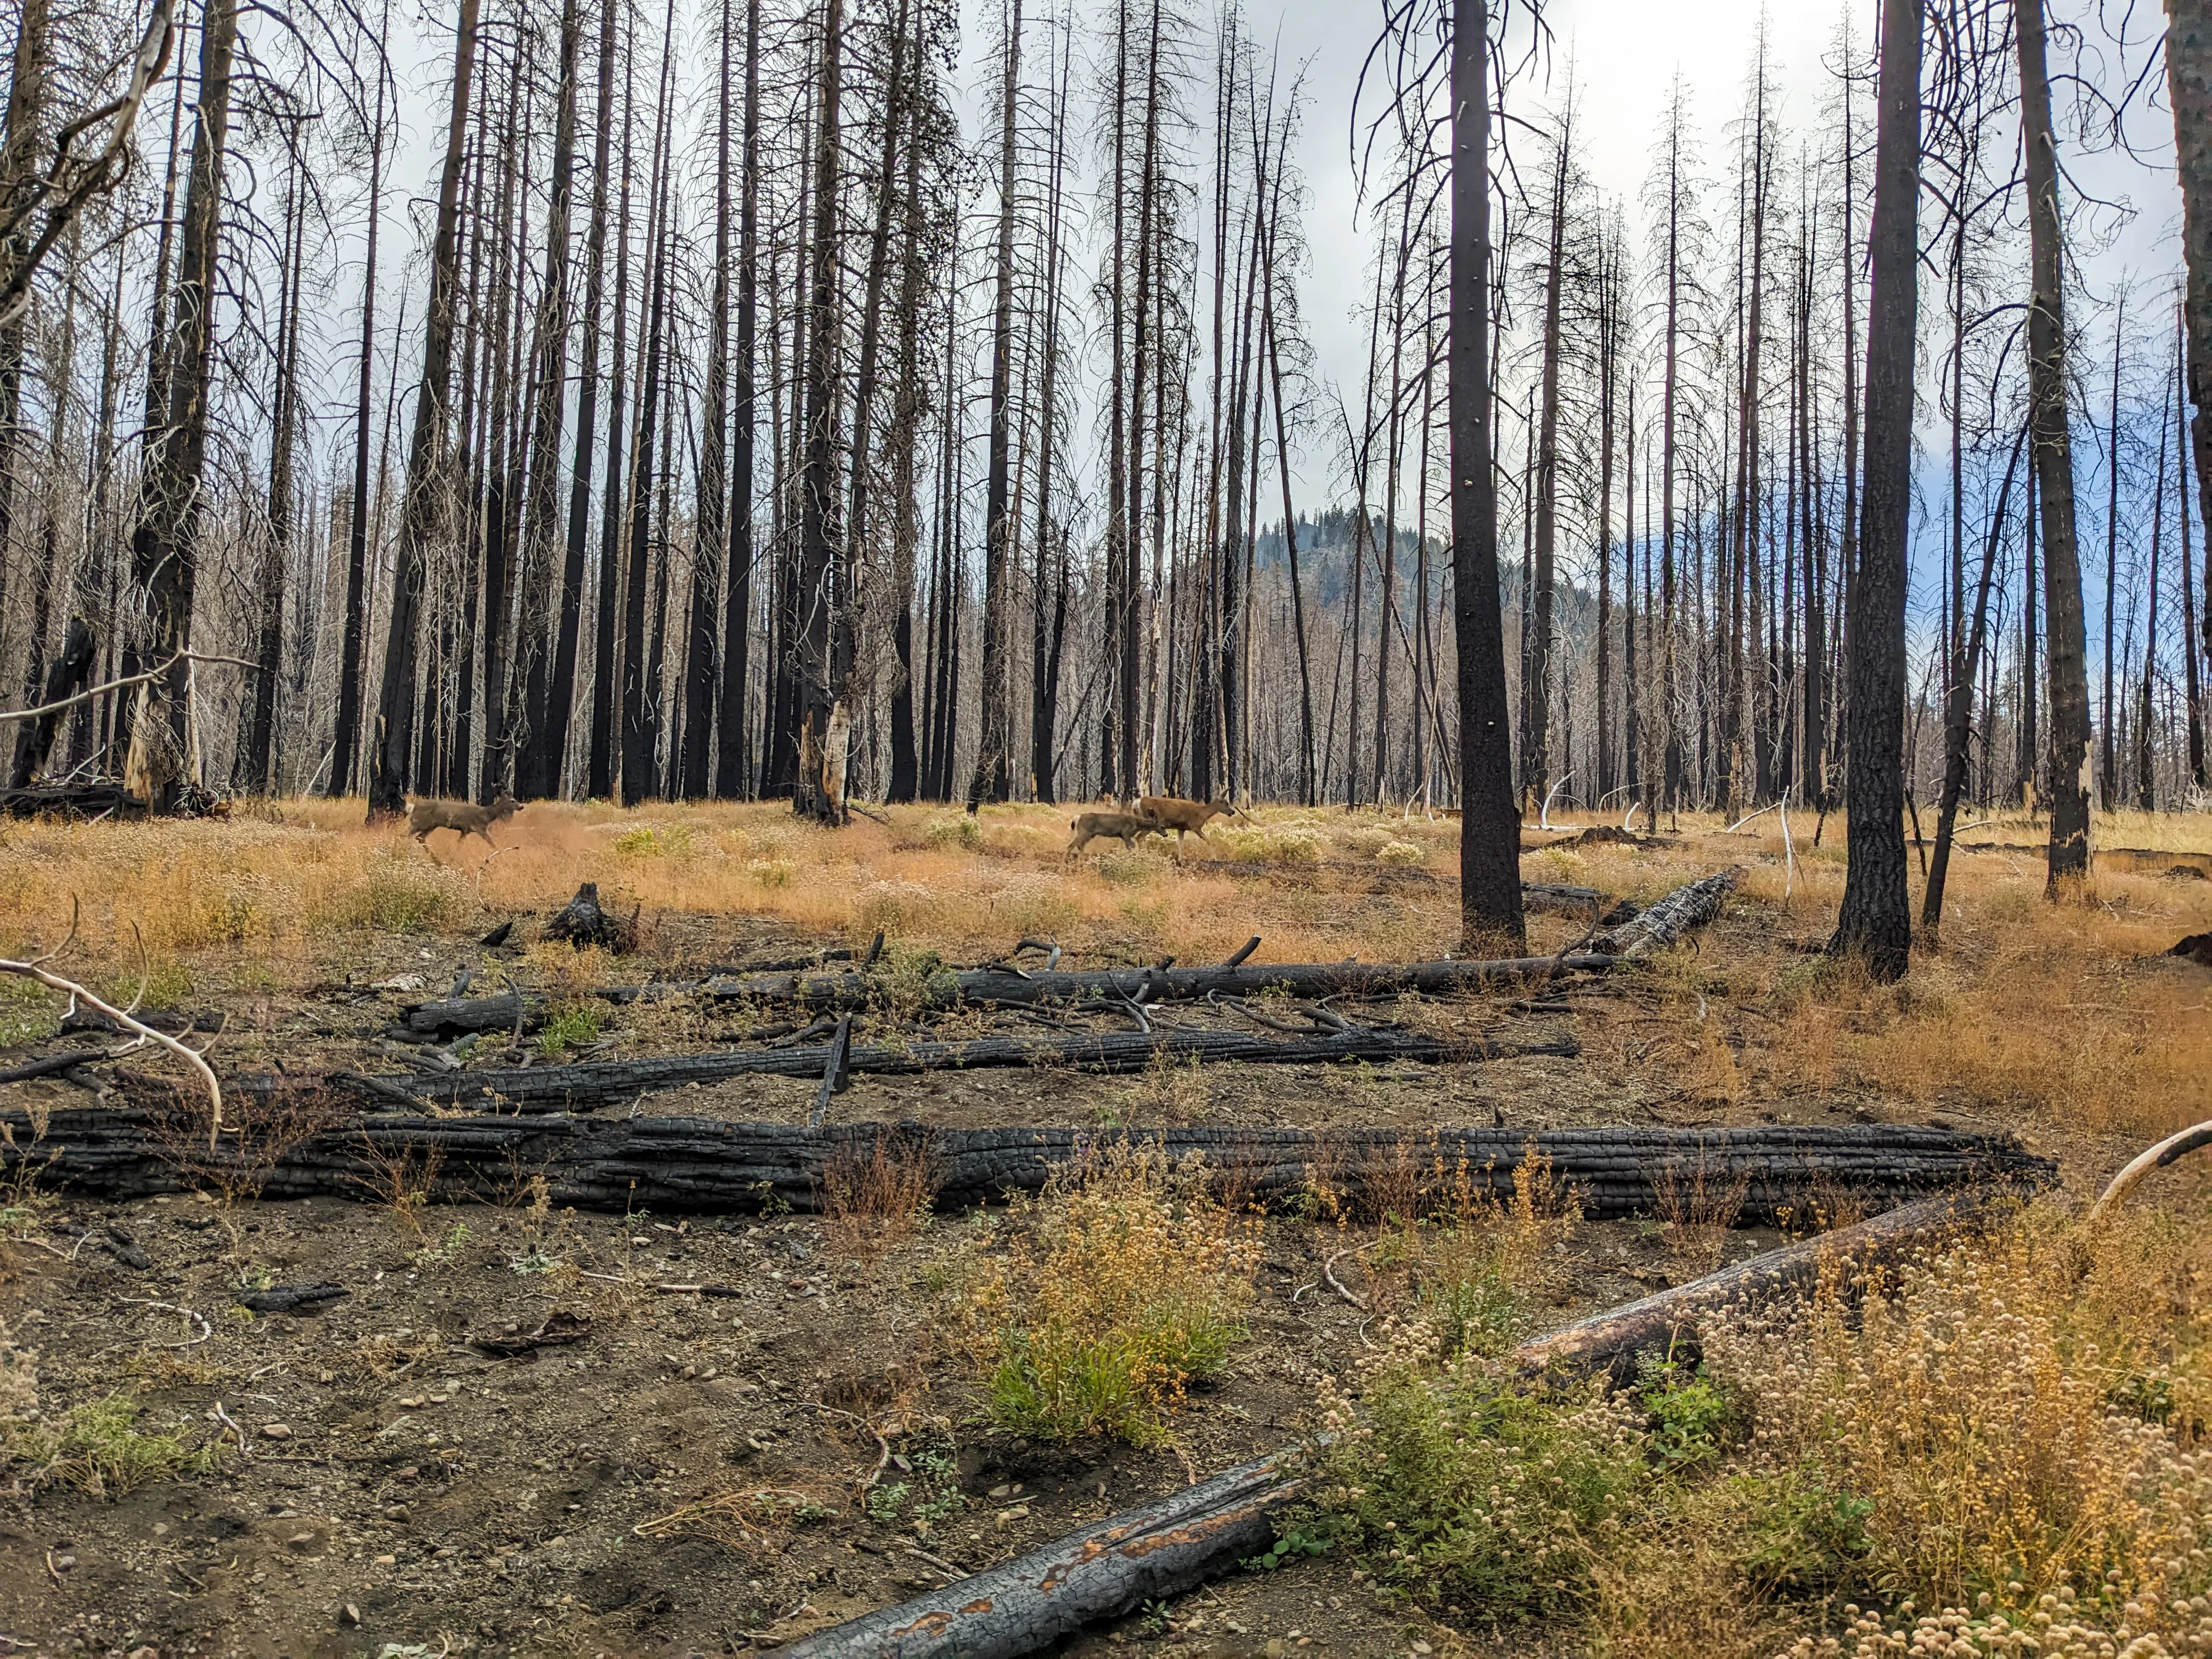 Time to head back to the car. We had to cut around Snag Lake back to the starting trail because we lacked distance the first day, so nothing too new or different for the way back.
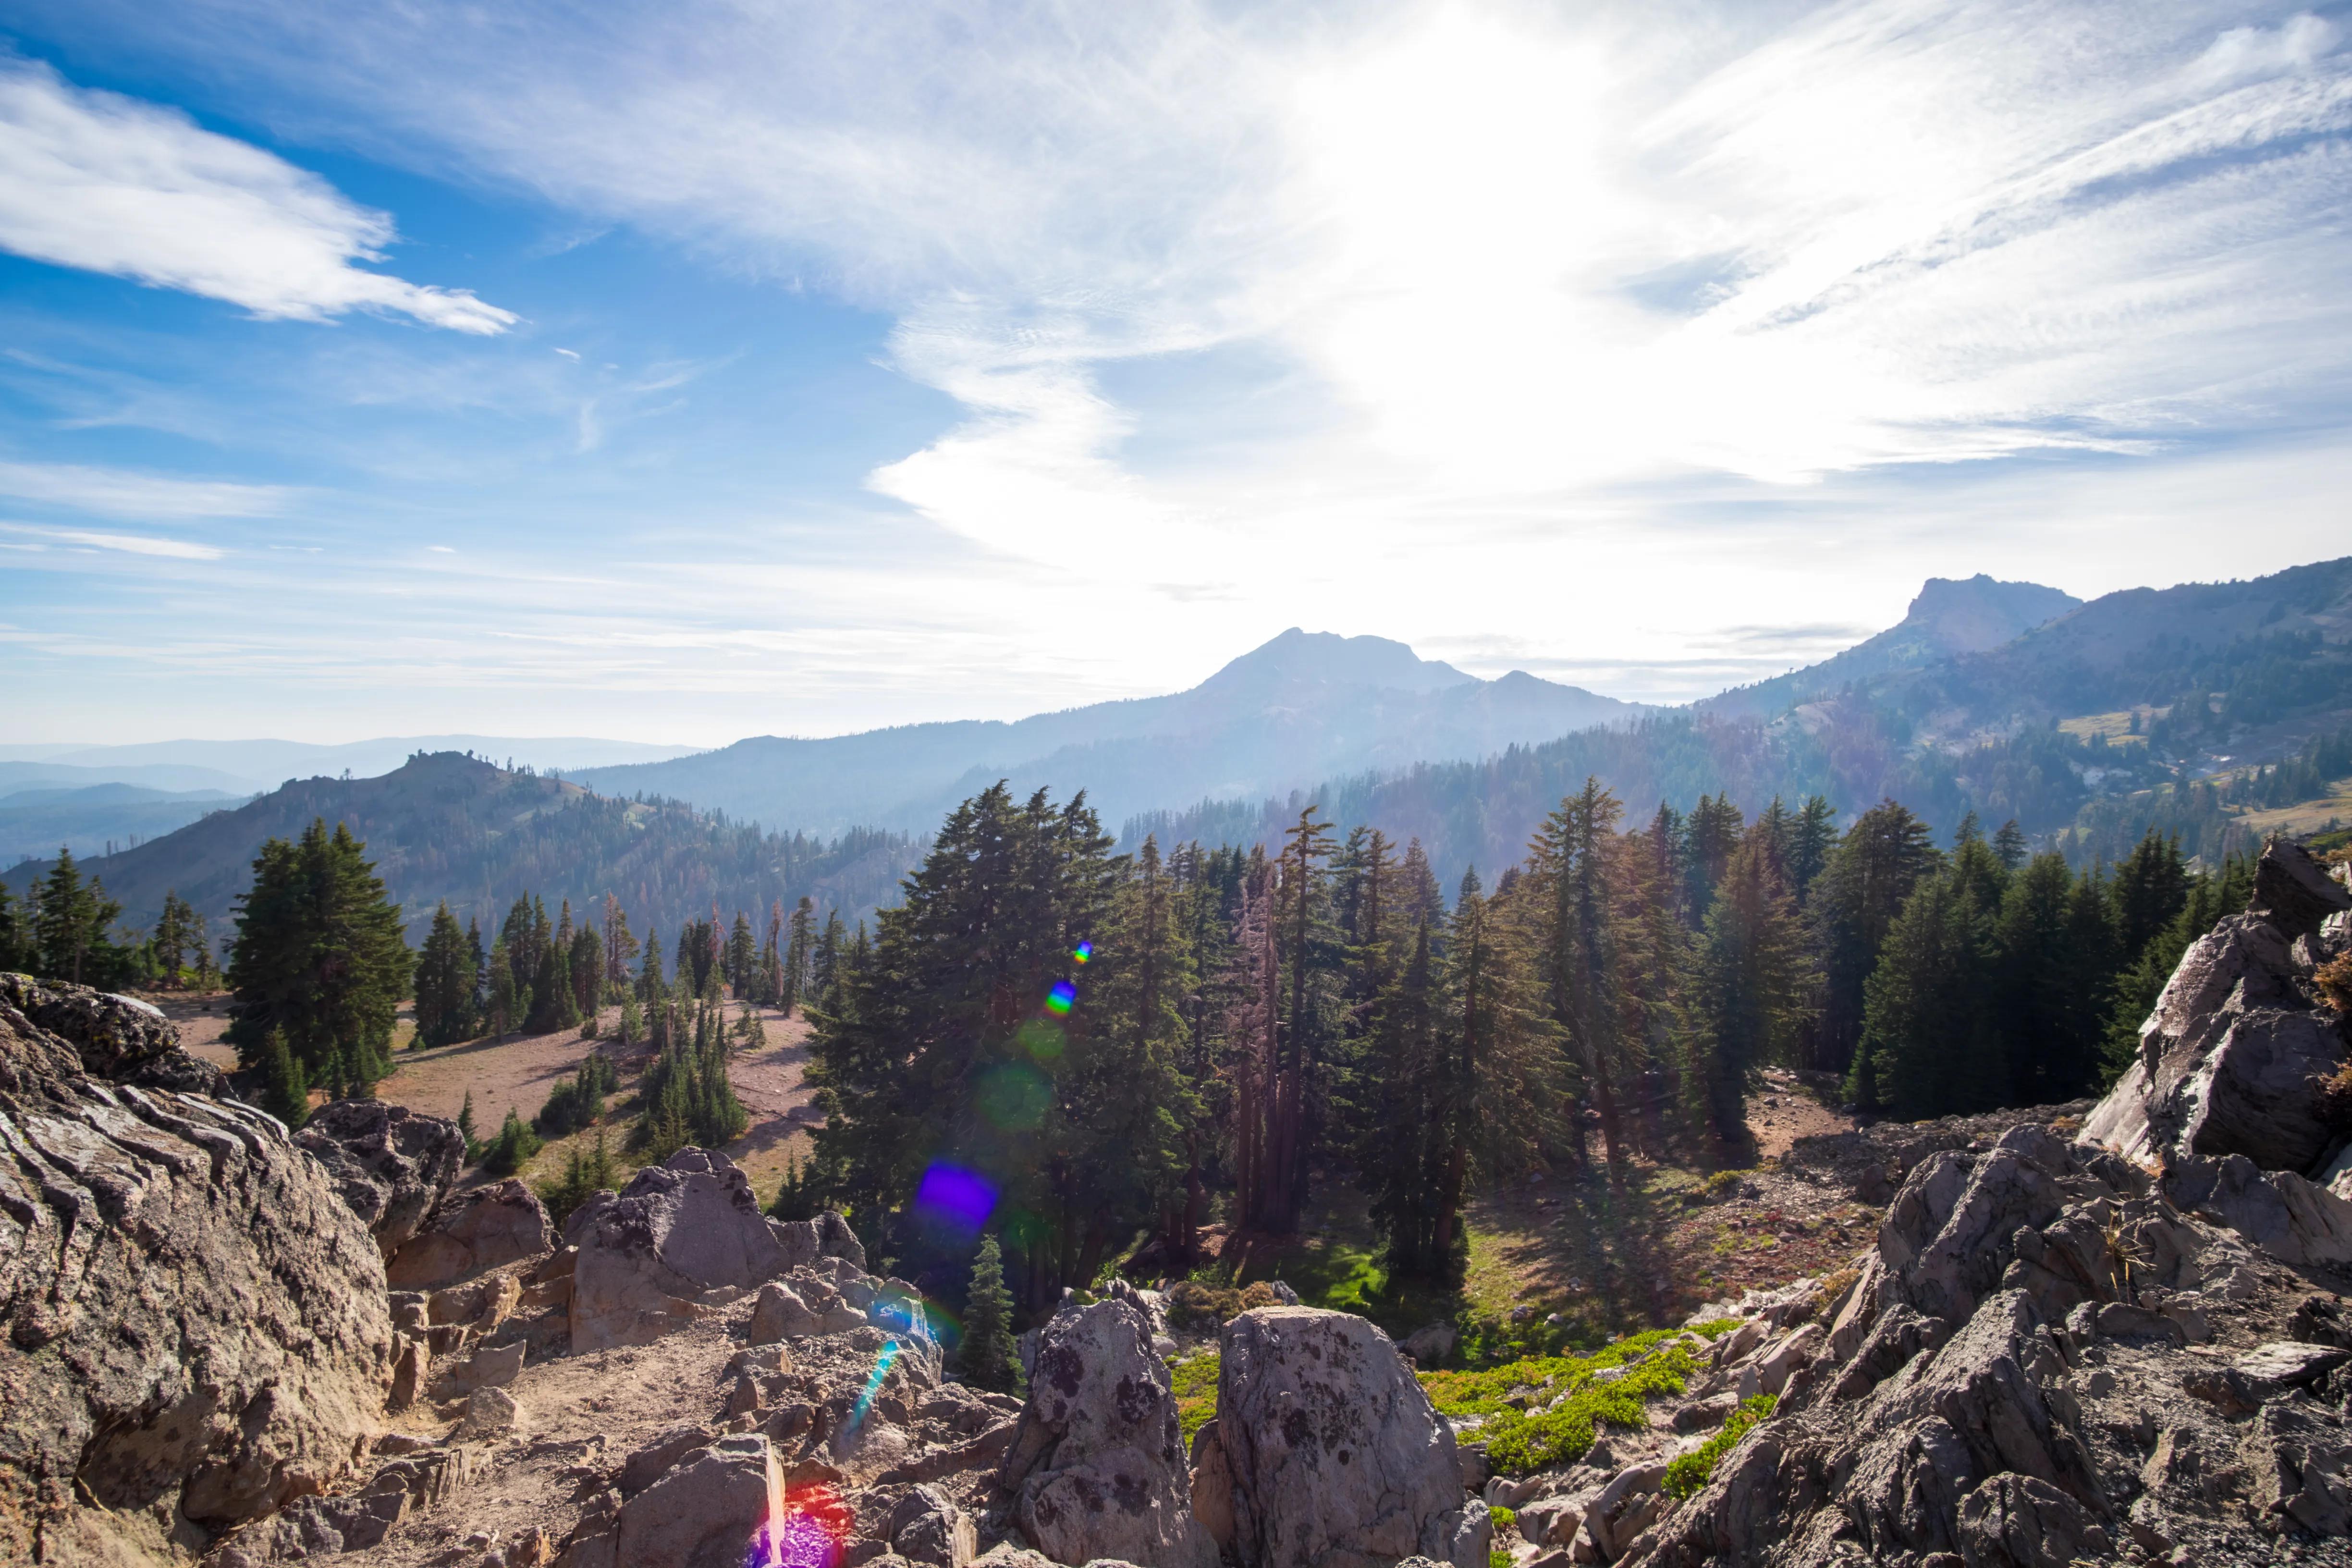
Be sure to stop by Sulphur Works and snap some photos of the scenic views on the way out of the park. Lassen has way more sights than what we covered in two days.
Time to head back to the car. We had to cut around Snag Lake back to the starting trail because we lacked distance the first day, so nothing too new or different for the way back.
Be sure to stop by Sulphur Works and snap some photos of the scenic views on the way out of the park. Lassen has way more sights than what we covered in two days.
Memories
Most Useful Item
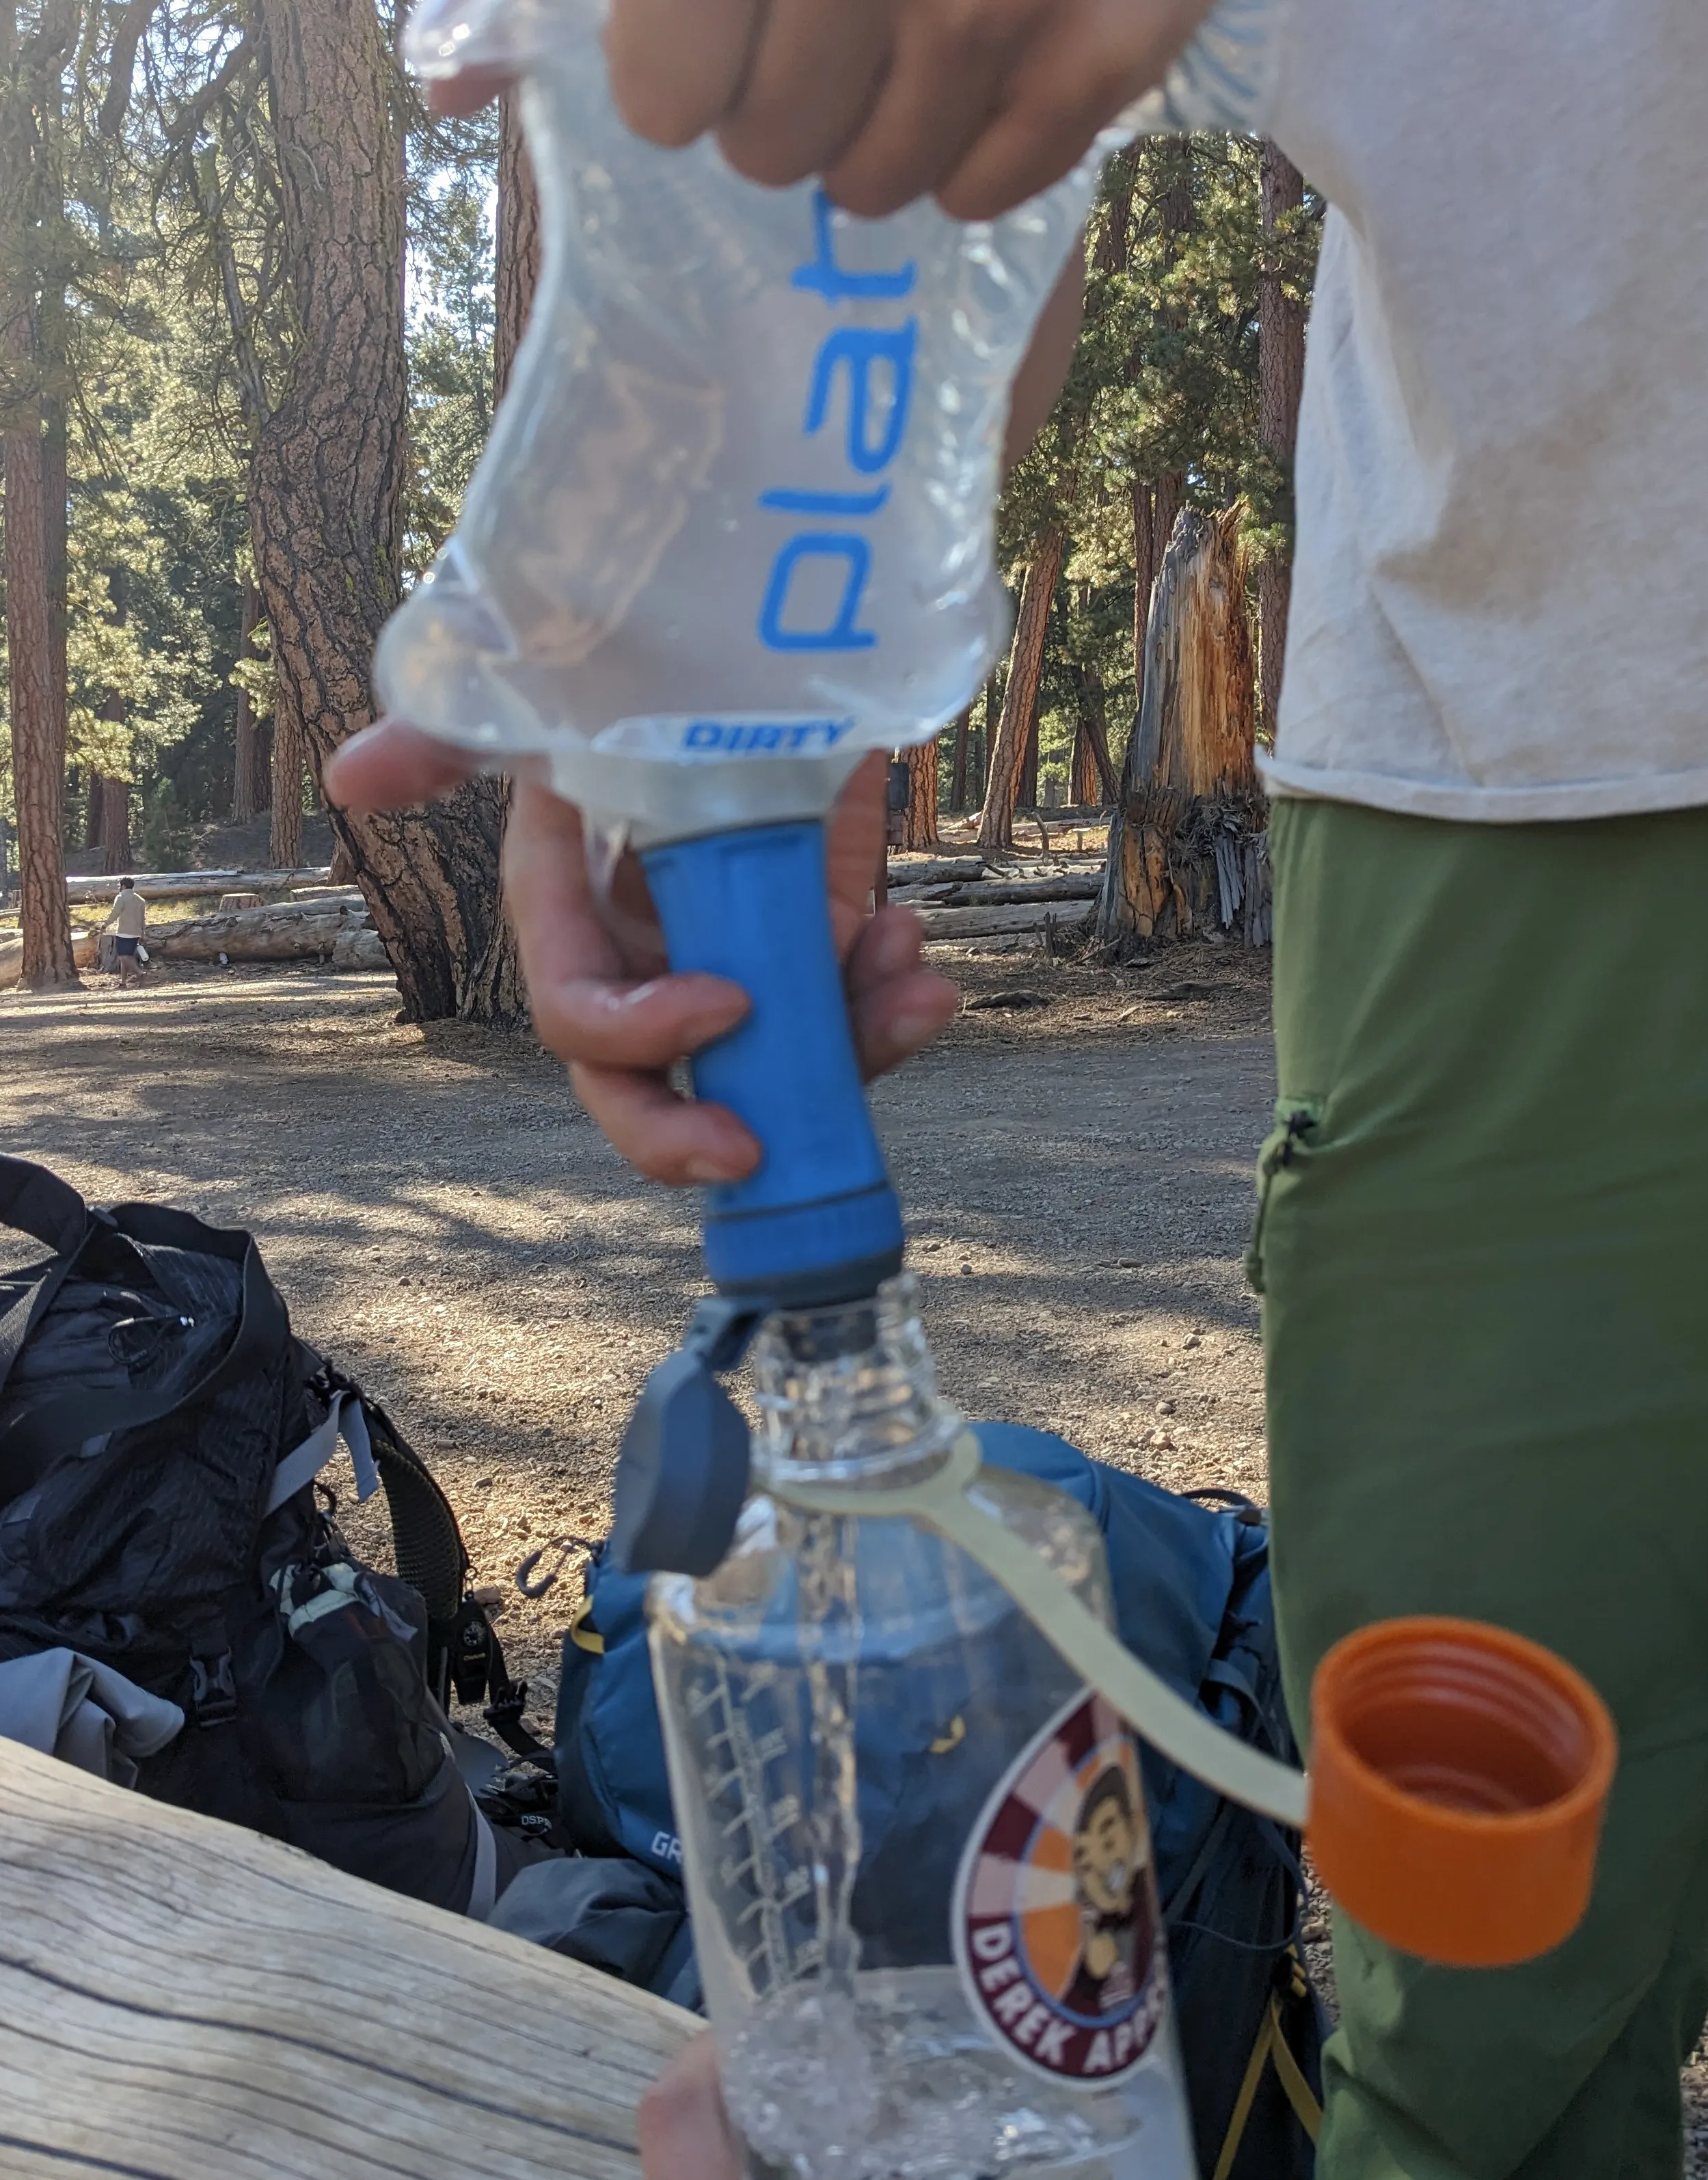 A water filter! When you’re out in the wilderness for days and you’re surrounded by fresh water lakes, filling up with lake water is a must. It’s fresh, it’s convenient, and you reduce so much weight in your pack. The tastiest water came from Butte lake and I would avoid certain areas of Snag lake in the swampy areas.
Favorite Meal
I’ve learned some vegetables that stay well without refrigeration: carrots and broccoli.
Favorite Snack
Artichoke packets from Trader Joe’s.